Gameplay Programmer
personal projects
click the videos to read more
first person movement controller

scripted event camera tool

game project highlights
top-down action role playing game

alien stole my sh%!

side-scrolling action platformer

additional game projects

Proof that I make friends quickly,
even the four legged kind

Striking my best pose at the Eiffel Tower
contact
+46 760 26 09 98
Hello!
My name is Philip, and I am a game programmer currently studying at The Game Assembly in Malmö. Video games have always been a part of my life. Studying at The Game Assembly has allowed me to be part of what I love.I enjoy games where movement is the core feature. I was intrigued by how smooth and accessible the traversal was in Dying Light, and how impressive the momentum carries itself in Counter-Strike's various game modes.My main areas of interest in programming are 3C (Camera, Control, Character) and all kinds of gameplay programming.
The love for these grew during our third game project, Unbound, where I had the opportunity to create my first player movement. I'm also familiar with other areas of programming, such as tools, AI, and engine.My favourite part of game development has to be the social side of it. To work with multiple disciplines, communicating and bringing the games to life. This was a skill I cherished in my previous job in logistics, so it's very welcome to see that game development holds the same or even higher standard in communication.During my free time, I like playing video games (surprise!), but I also enjoy nature, working out, singing and playing my guitar. During my workouts, I usually love running the most, especially outside in nature and exploring new areas of town.
specialization project
first person player movement
Why did I make this?
For this 8-week project, I was inspired by Counter-Strike Sources' bunny hop gamemode and Dying Light.I wanted to achieve a high-paced game feel by creating this player controller from scratch in a custom C++ Engine that has PhysX implemented. The engine was originally built from scratch for a school game project.
Features
• 8 directional movement
• Varying speed depending on where you look
• Jump
• Crouch and crouch walk
• Sliding and slide jumping
• Landing assist
• Step-up
• Mantling
• Grappling hook
Pre-production
The goal of the pre-production phase was to establish a clean working environment. I began stripping away every movement component that I could find and set up my own interface. This was to ensure I had full control of all the systems, and nothing remained of the previous third-person system that had existed before.I chose to implement a state machine architecture to handle all movement. By establishing specific logic for every state, I could create a modular system that is easy to debug and further extend. This structure allowed for smooth transitions and prevented states from accidentally interfering with each other.
I needed to define my metrics early on and make them stick to them rest of the project. I spent significant time comparing with Dying Light to make sure everything felt similar, but faster.During our latest group project, I spent time creating a jump that feels satisfying and very light to use as it was focused on a 3D platformer. That meant I could modify that code and implement it according to my metrics. I had to alter some functionality to fit the genre of my specialization.
First iteration of running, walking and jumping
First camera preset on landing
Without headbob
With headbob
Headbobbing
This was important to implement as soon as possible, as it could have affected the way I had to tune every feature in the project. It was also crucial to receive feedback on this feature, as head bobbing can cause motion sickness if not executed properly.My first iteration used a sine wave to produce a consistent vertical motion, as well as a cosine wave to produce the horizontal motion. The combined result of these motions was later applied to the camera as an offset to its original position.
The first issue I had was when the character stopped moving, the head bob would just abruptly stop. This caused the head bob curves to instantly reset and made it look jarring and unnatural. I tried resolving this by using a lerp on my timer to make it go down to zero, but it made no greater significance to the feel.Instead of resetting the timer, I added a weight to the curves to smooth out the transition when the head bob activates and deactivates.
I was pleasantly surprised by how simple the code was to implement to give such a meaningful effect.

Headbob code
Alpha phase
During this sprint, I made myself a player gym that was attuned to the metrics of my specialization. I could then start implementing a first draft of the features and transition my camera to the correct state.The first feature I started working on was the dash ability. I find it fun to use in any first-person game, as it also has one of the more satisfying camera movements. With the help of a GDC talk about jumping, I could adapt the existing math formula to support a translation over a distance which would give me the desired responsive movement.Using the same formula, I could efficiently implement similar features, such as the slide and the landing assistance. Landing assistance is the result of a roll feature. Due to the uncertainty of being able to implement animations, I decided to cut the roll and add landing assistance as a motion sickness-friendly option.
This was also the time when I implemented camera transitions depending on states, so every state would have its own variables for the camera and its movement. This is something I had to refactor from my preprod phase, as its implementation was not compatible with the future structure of the project.
First iteration of dash
Polished version of dash
Slide with the same math formula as dash
First iteration of crouch
Mantling
Visual representation of raycasts when mantling
Beta phase
In the beta phase I spent some time polishing my core features, but I knew I also wanted to enhance the overall second to second experience of the movement. The first thing I wanted to implement was mantling, which allows the player to automatically climb over ledges within reach. The second thing I thought of was a grappling hook, which I figured would be a fun addition to the movement kit.
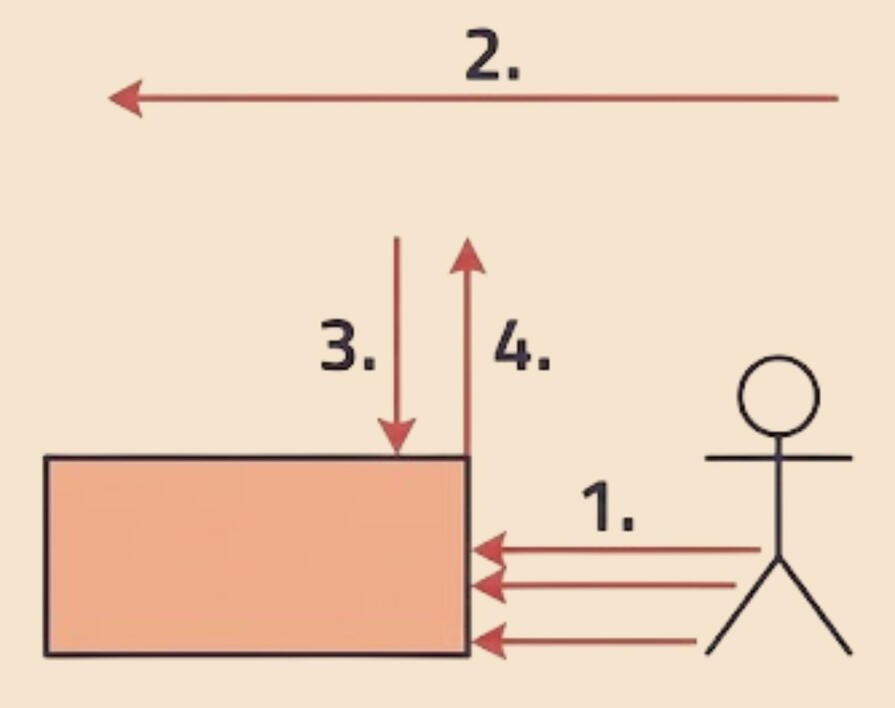
I wanted to implement mantling to keep their momentum and not have their flow be disrupted as easily. There are a lot of traps when you start to implement the feature. You have to be certain that you are able to mantle, which requires multiple checks with raycasts.Structure for raycasts
1. Shoot three raycasts from the waist, thighs and feet to see if a block is in front of it
2. If any of the first three rays hit, the player shoots a ray far above the player to see if it hits anything that can obstruct the player.
3. If it is clear, shoot a ray downwards from the first three hits to find the ledge of the block. This is also the position the player wants to reach.
4. Very similar functionality as point 2. Shoots a ray upwards to double check if the player can actually mantle towards the found ledge.If all raycasts succeed, the player can now mantle with relative safety.Grappling hook
I really wanted to capture the feel of Dying Light 1. Instead of a grappling hook that is based on a pendulum calculation, I implemented a grappling hook where you move from your original position to the anchor point. The hardest part about the hook was making sure it felt natural and was in check with the current flow. If the hook brought the player within range of a ledge, the mantling logic took over automatically for a smooth transition from hook to climb.
Grappling hook with the ability to be canceled
Grappling hook with auto mantling
Closing phase
The closing phase was centered around polish and visual feedback. Without proper visualisation, the movement and flow can feel disconnected.For the larger portion of the project, I worked with next to no feedback. To improve the game feel, I collaborated with an animator, who provided animations that I could implement in my state machine. This tied everything together and made the movement come to life.Besides tuning animations to match my features, I spent time tackling bugs and improving on every camera preset. With the visual feedback now available, I could also tune every feature to ensure it provided a satisfying experience. I also dedicated the remaining time to documenting and reflecting on the progress of making a first-person controller.
Showcasing animations and the ability to crouch under objects
Gameplay featuring slide, zipline and running animation
Fast gameplay, highlighting what is possible with the movement
Conclusion
In the end, I am very happy and proud of what I have managed to deliver. I'm glad I decided to create this project in our custom C++ engine, using the challenges of PhysX and a completely handmade first-person controller. Since I had never worked on a first-person game, this makes me feel even prouder that I have produced something of this quality. I'm very grateful to the people who were not only excited but also happy to help me enhance this project. I want to make this type of movement in a full game and iterate on the existing features, potentially adding new and creative ways to traverse the world.
Thanks to everyone who helped!
Lisa Martijn - Created animations for the player to enhance visual feedbackOscar Hofling - Help with texture and cubemap conversion and pipelineLukas Ax - General feedback on the level design and helping me create a proper levelAnd thanks to everyone else who took the time to playtest and provide feedback for the project.
scripted event camera tool
a tool created during the tool development course
Showcase
A showcase for the tool and how it works. As you can tell, I'm not an animator... :D
Purpose
The scripted event camera tool was developed by my co-worker Denis Codreanu and me, with the inspiration to ease out the scripted events process within our game projects with handmade camera sequences.This tool features a simple interface that took heavy inspiration from Maya's keybind and the visuals from Unreal's Sequencer. The goal was that our animators or level designers should have an easy time creating something memorable within our game projects by using camera sequences.
Denis and I shared an interest in making a sequencer. I was more interested in the camera work, and he was more interested in the interface and UI design. So we decided to work together to create something stronger during TGA's course in Tools Programming. We spent 3 weeks working half-time to finish this tool.

A hero introduction for a 3D character, made by my colleague Anders

ImGuizmo preview
Visual Editor with ImGui
One of the most important things Denis and I talked about was having a very clear and easy-to-use UI. We used ImGui to create a simple yet effective UI with their custom draw commands. With these commands, we could create a simple visual editor and a space for editing variables.
An important feature we added for this project was a visual indicator of where the camera was and what it was moving. We quickly decided to use ImGuizmo due to its compatibility with ImGui and the simple implementation. With this tool, the user could easily create and manipulate the camera to the desired direction, rotation, or even size, creating seamless motion with minimal effort.
Custom binary file format
To optimize our integration and stability of transferring data between projects, we decided to create our own binary file format where we would serialize all relevant information. Such as keyframes, frame amount, and transformations.We also made our tool component not rely on any code in this project, making it easy to move it into our game project at a later stage without requiring any extra work.
With the file format done, we wanted to have a safe way of saving, opening files, and restarting from scratch. Which is why we created a way to do just that during run-time, shown in the video to the right.

Saving and opening a custom file format

Undo in action!
Undo-Redo
With a tool created for animating cameras, the user will likely make some kind of mistake at some point. Regardless if the mistake is big or small, an undo/redo function is essential.This proved to be more difficult than we both thought, as there are so many edge-cases that you have to keep track of. Our method for keeping track of the user's action was using a vector, and whenever an action was done, we saved the original information, then we pushed it into our vector. If the user wanted to redo, all we had to do was pop it, and the action was reversed.
Group Projects
In my time at The Game Assembly, we have worked regularly in group projects with a team of programmers, artists, animators, technical artists, and level designers. We started with Unity, then moved on to a custom C++ engine created by The Game Assembly. At last, we created our own game engines from scratch in C++.

Alien stole my sh%!
Project #6
3D Precision Platformer
Implmented majority of the gameplay features , Player Jump

Spite: Blood and Gold
Project #5
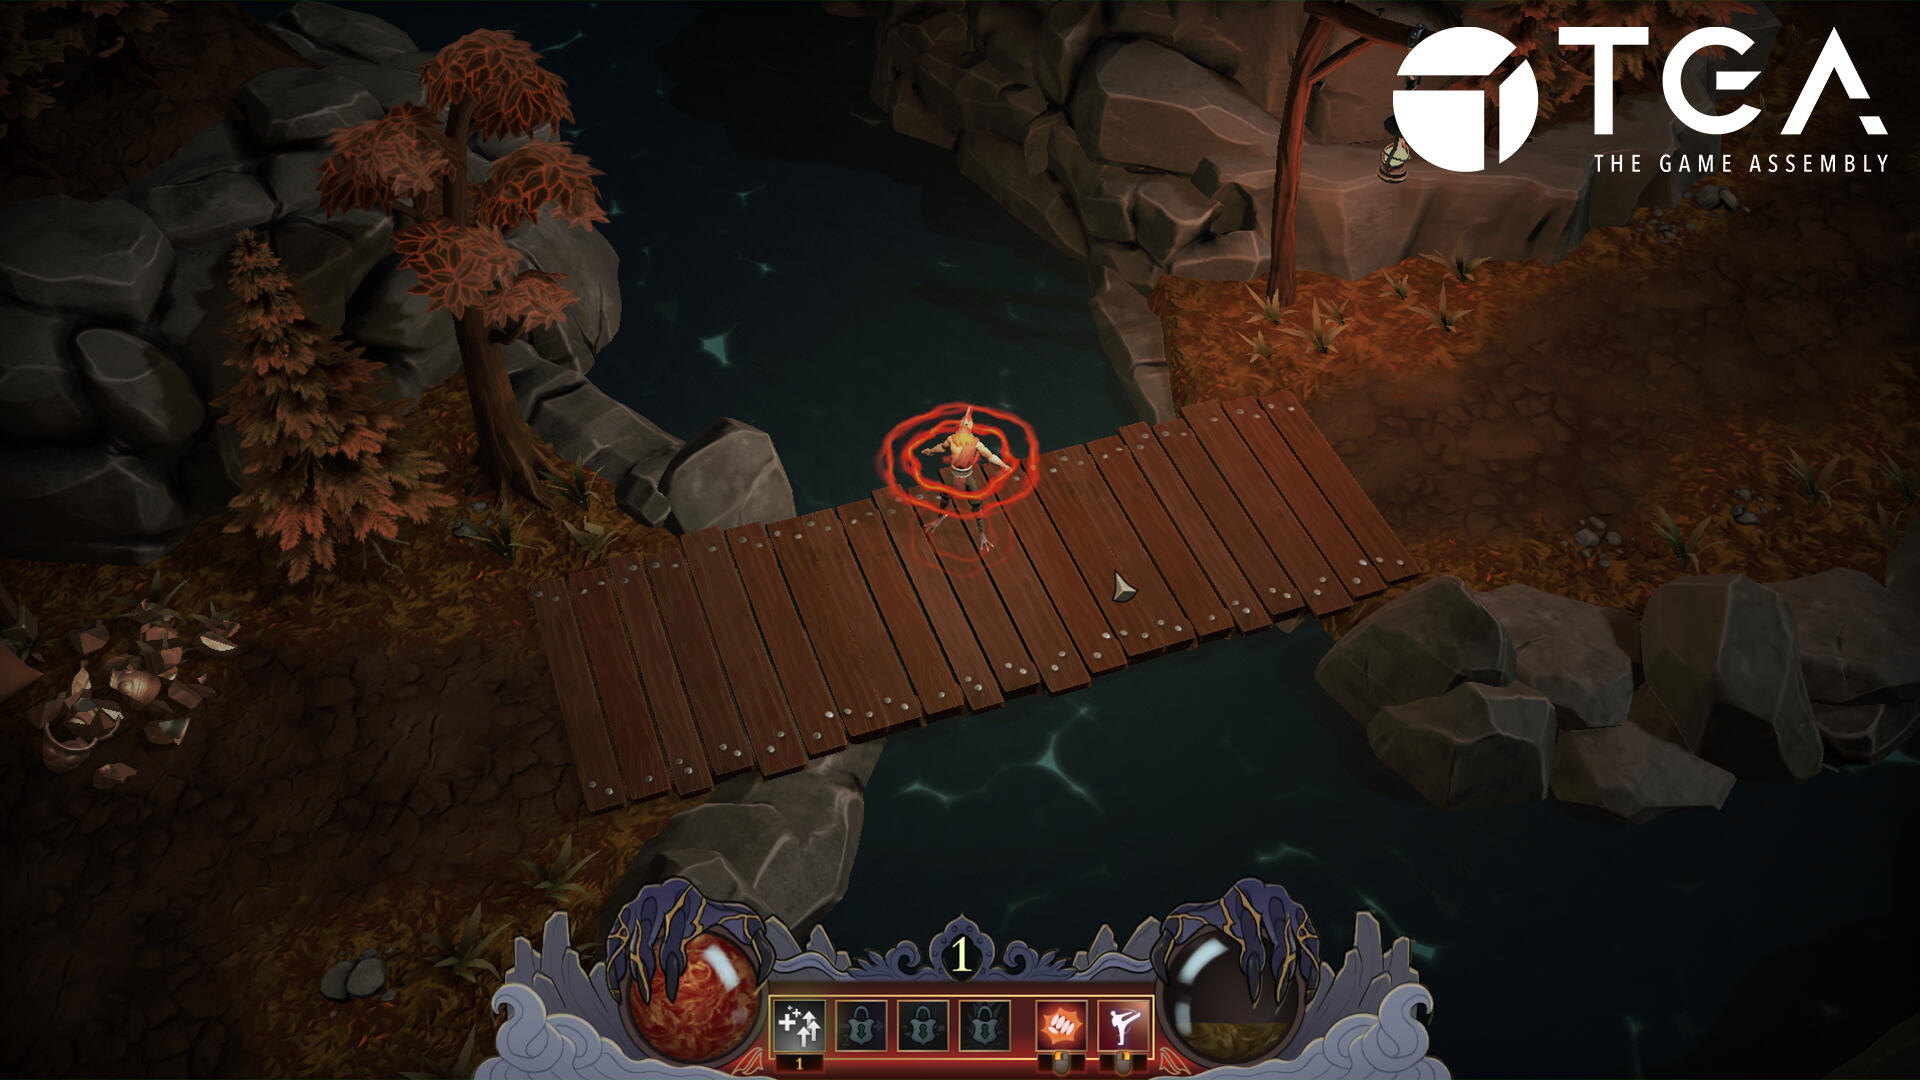
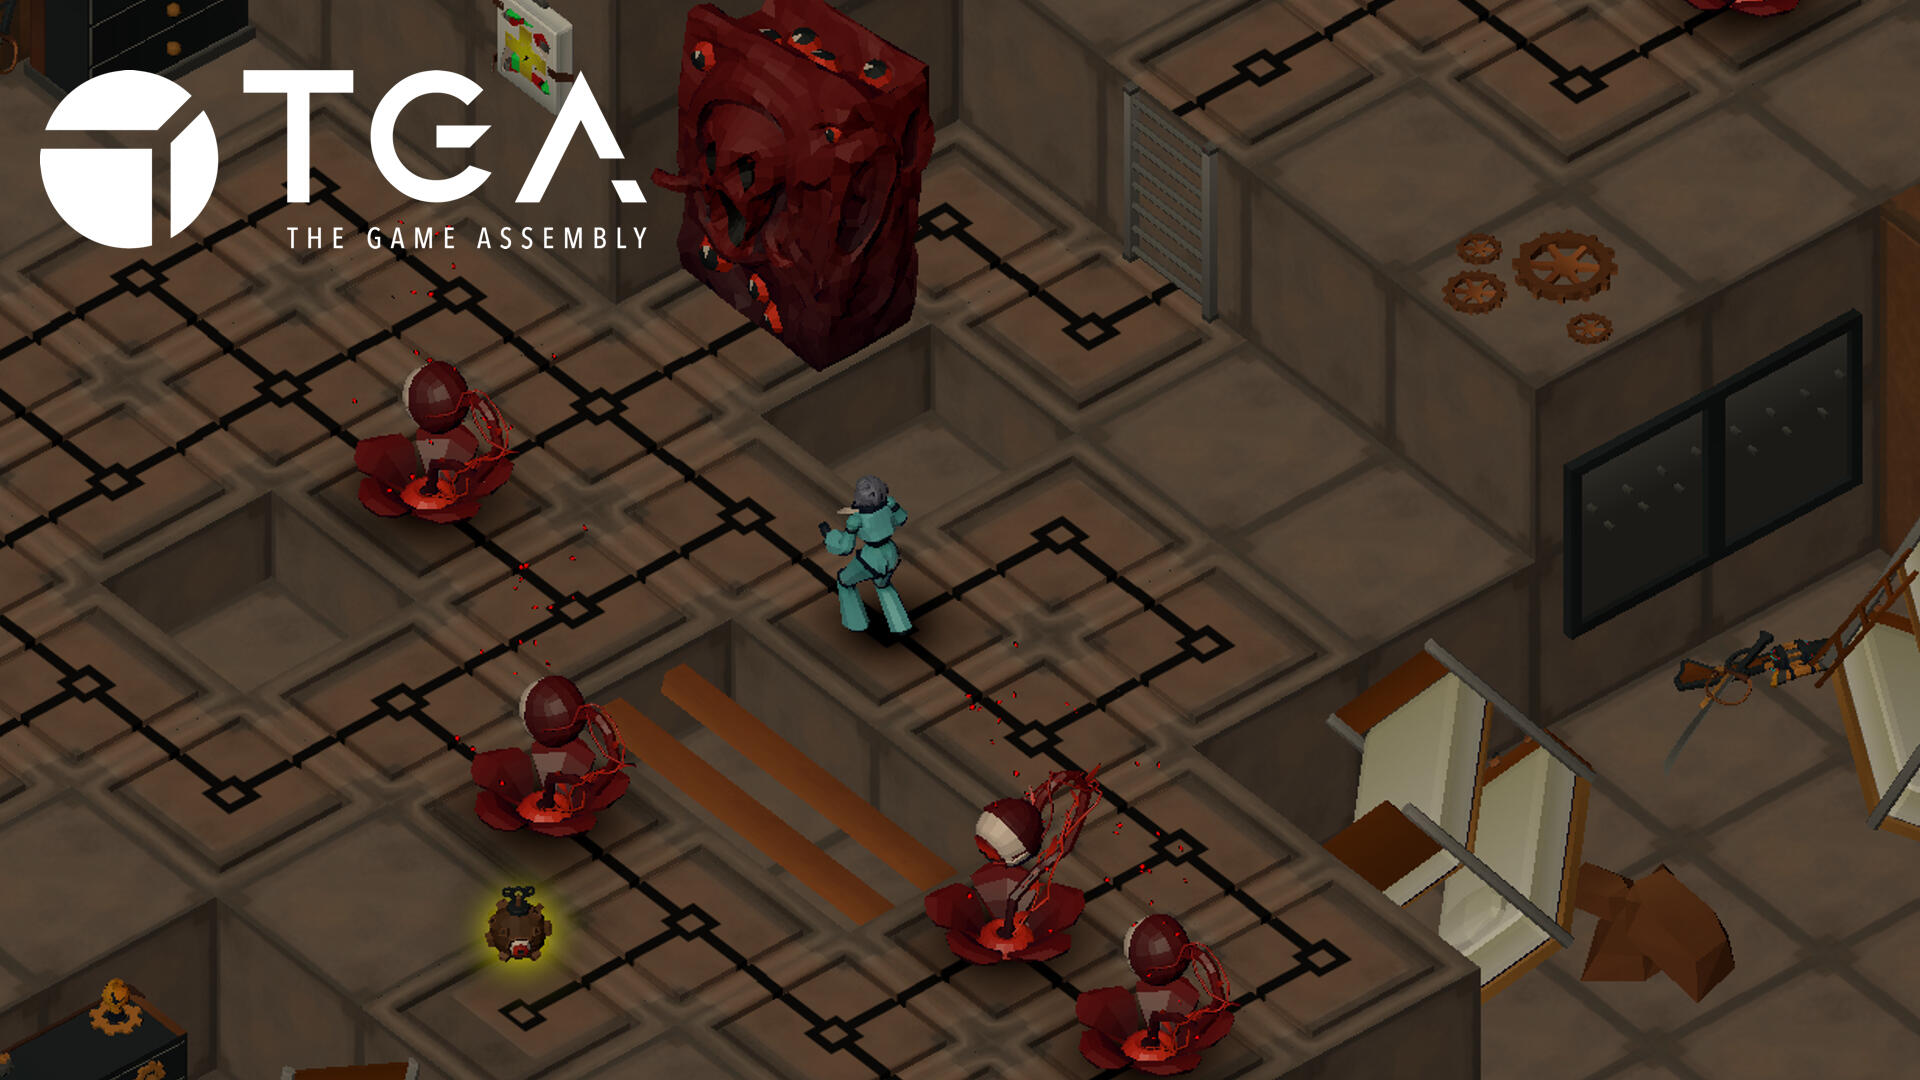
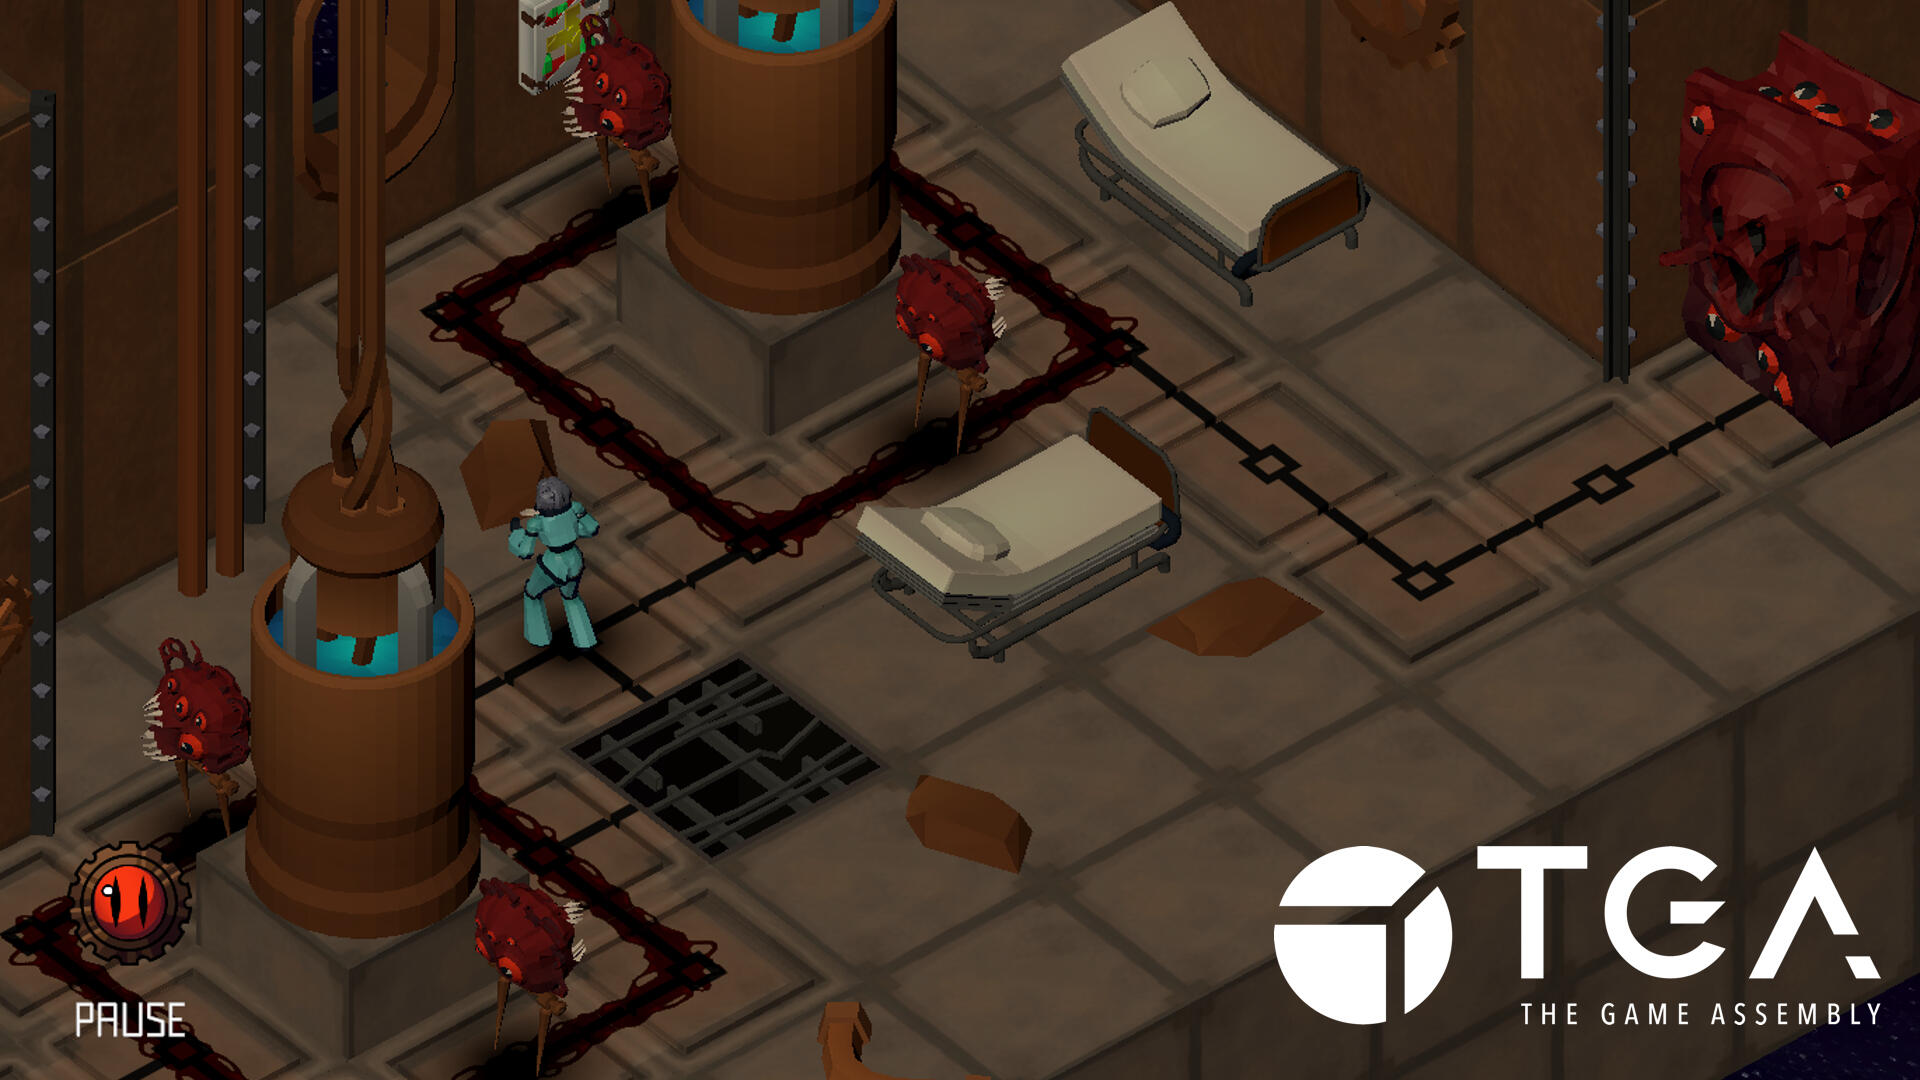
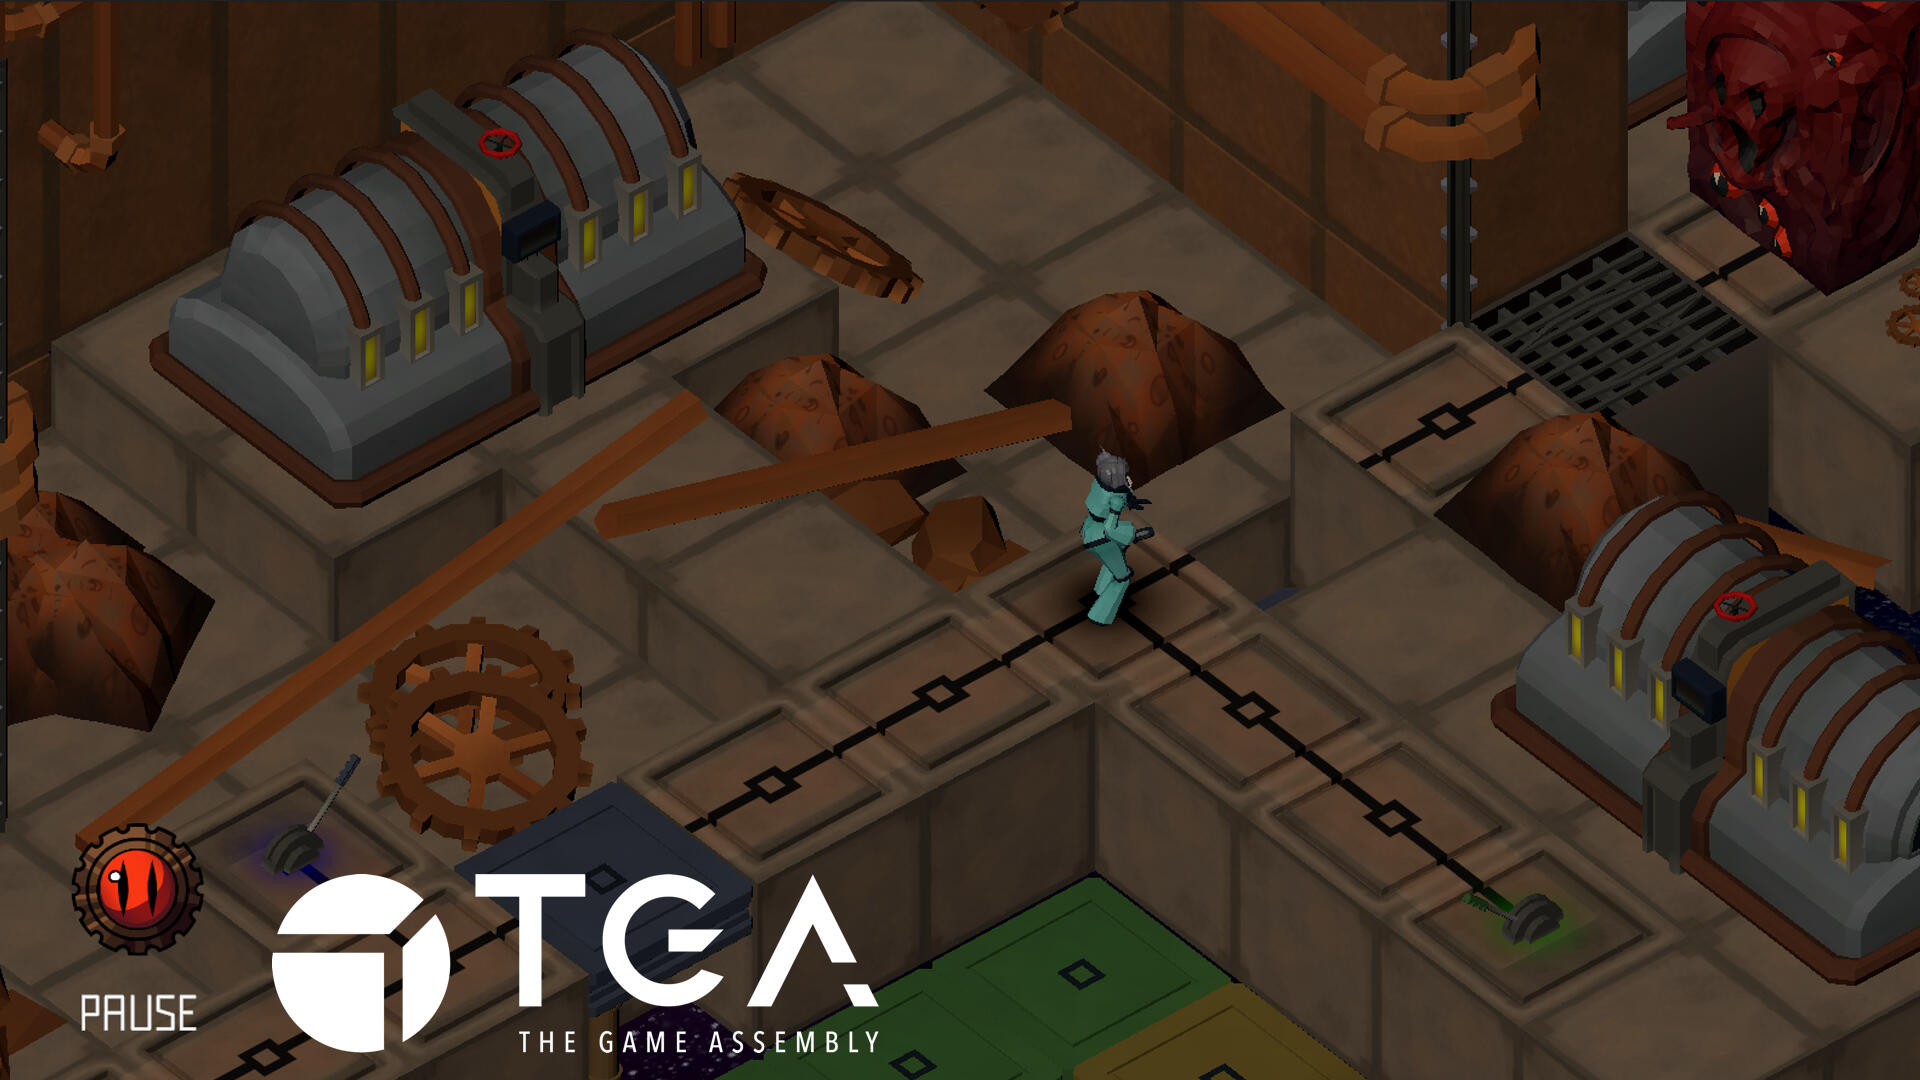
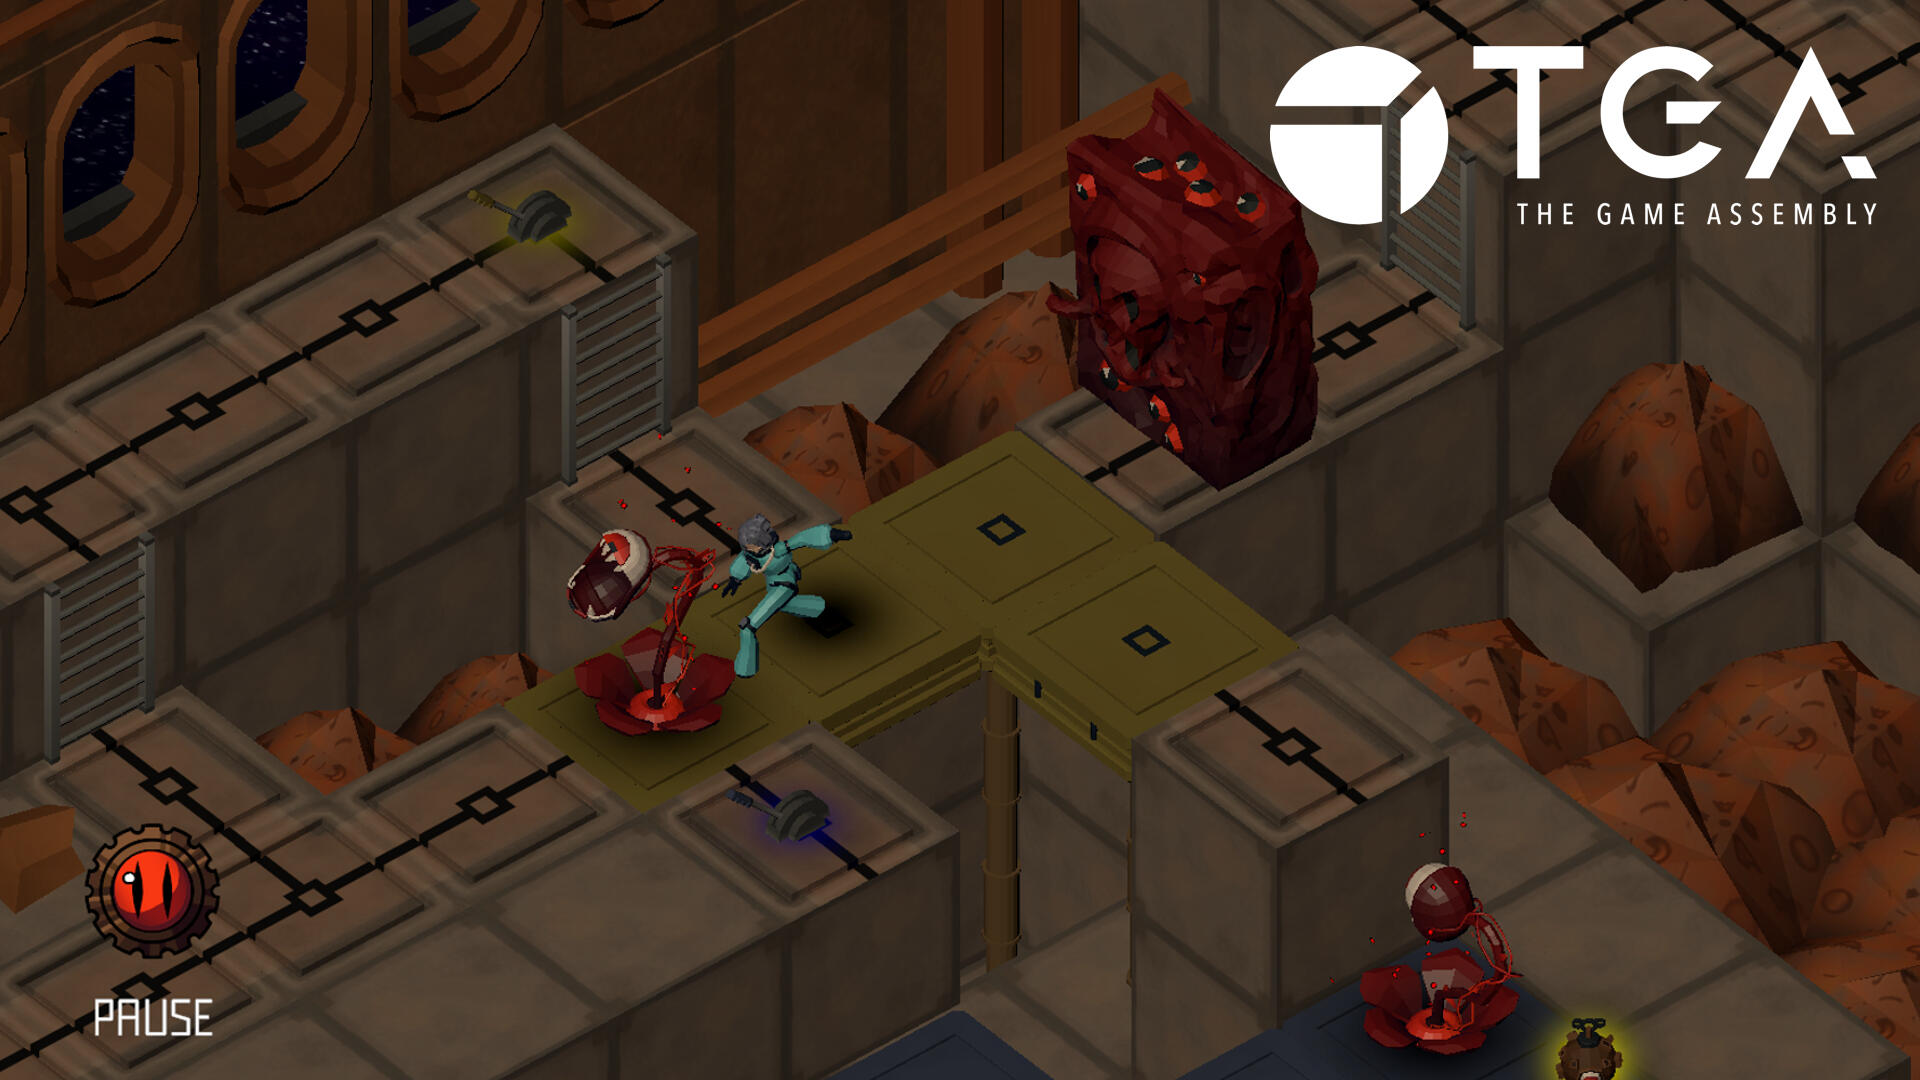
Top-down Action Role-playing Game
Implmented majority of the gameplay features, player abilities, lights and shadows

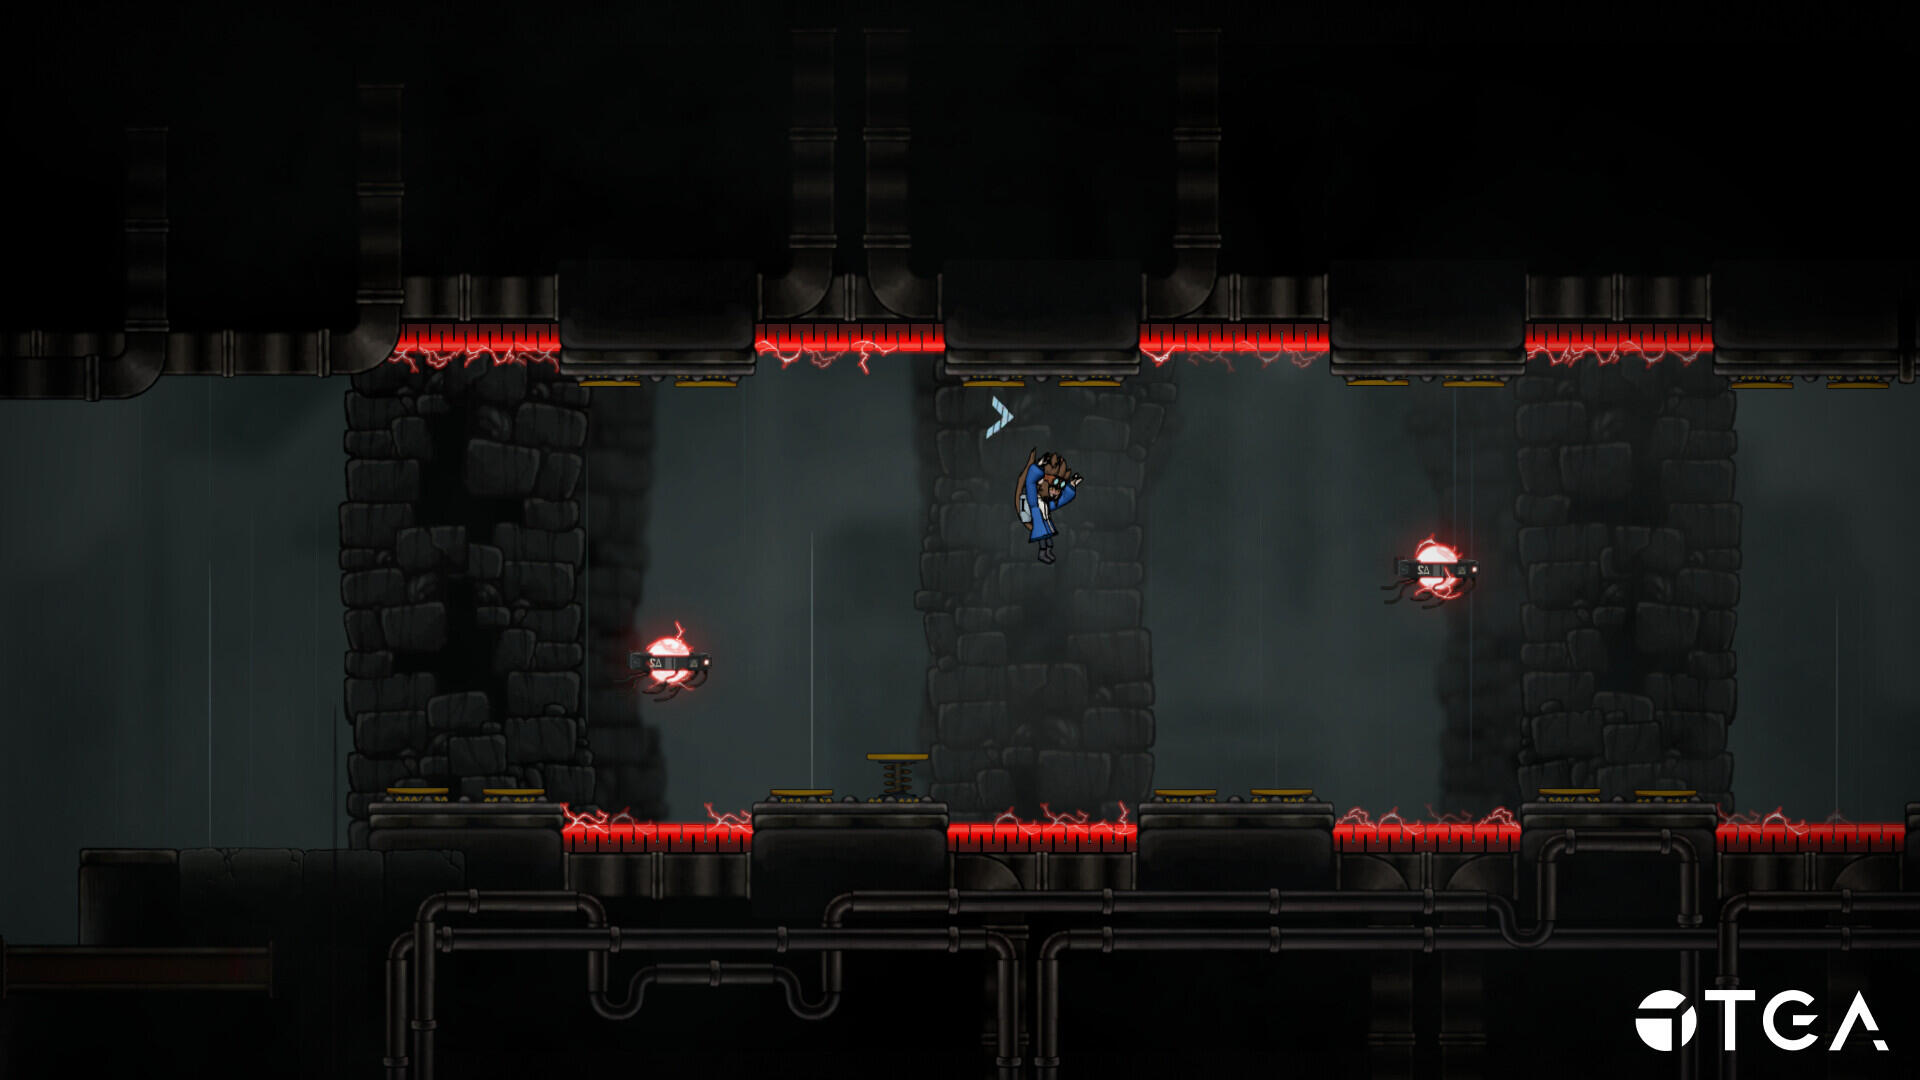
Unbound
Project #3
2D Side-Scrolling Precision Platformer
Handled the majority of player movement, springs, and ledge handling

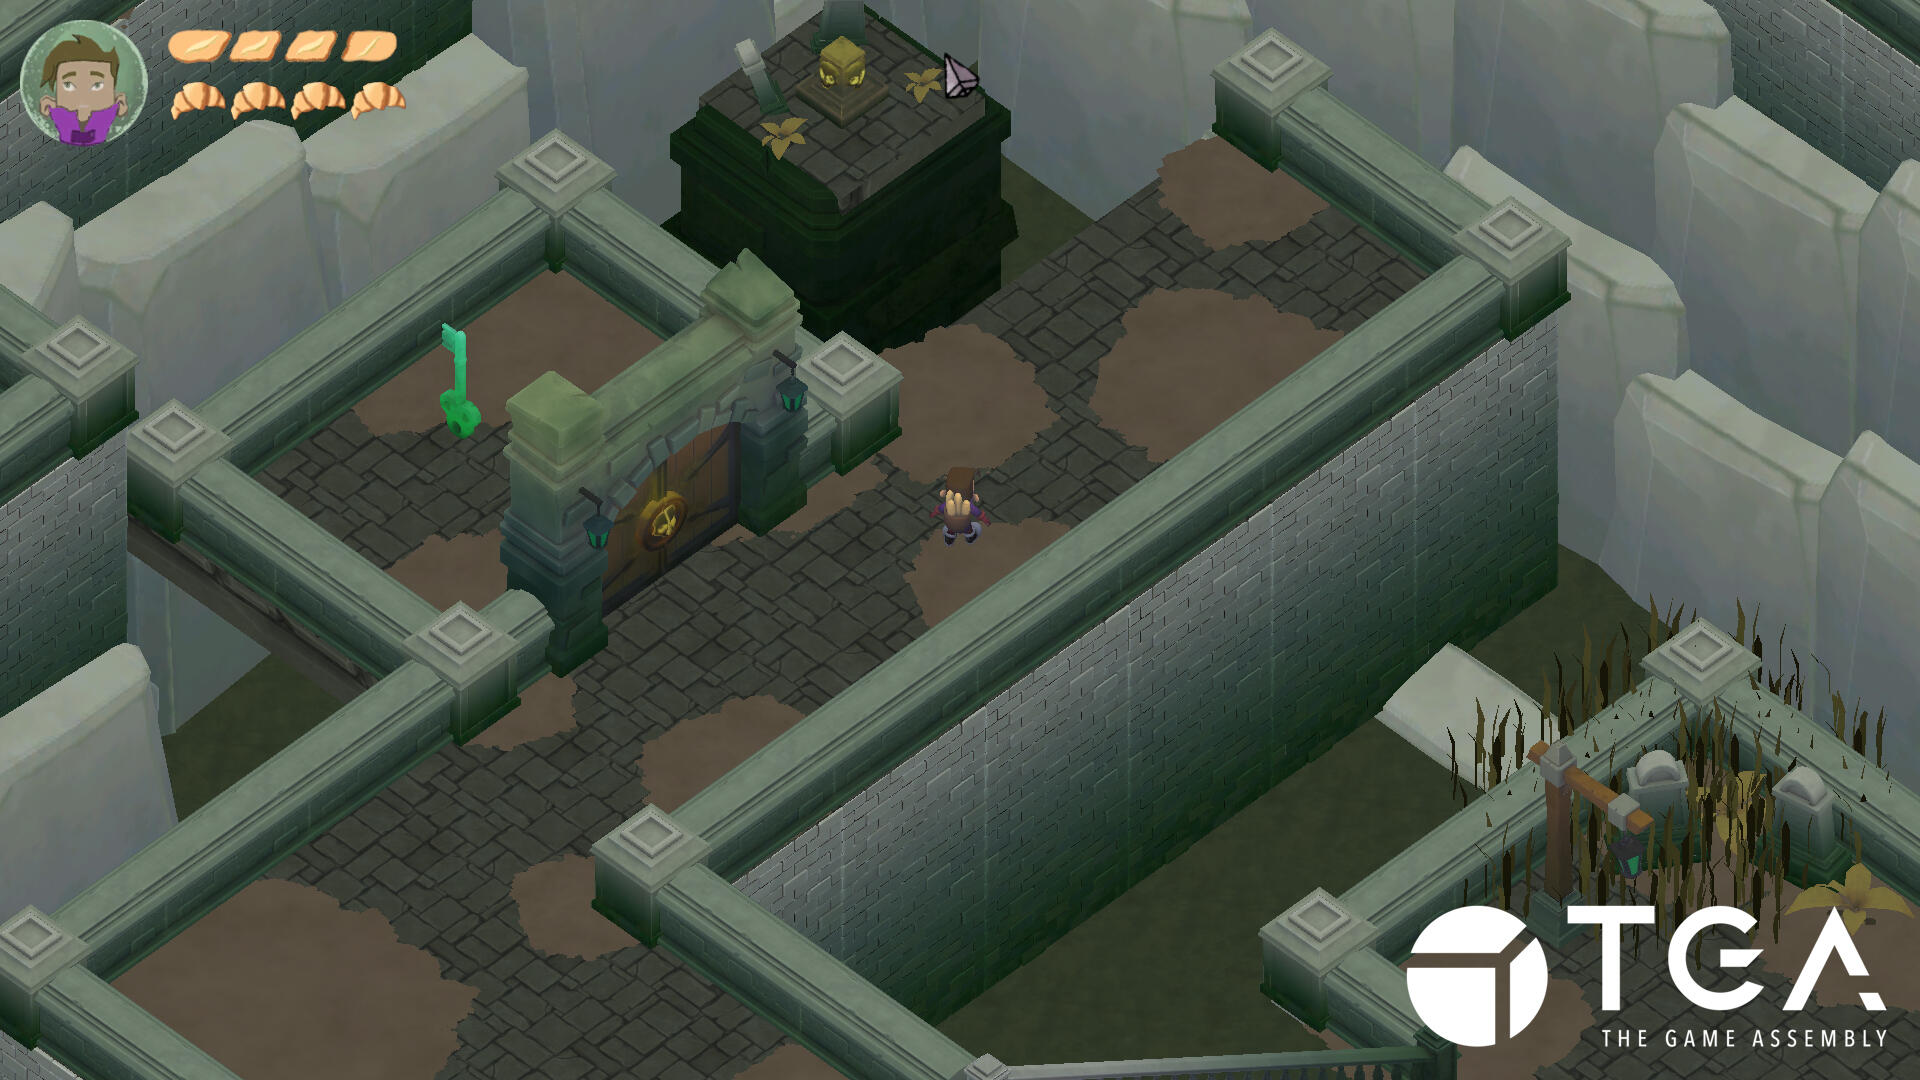
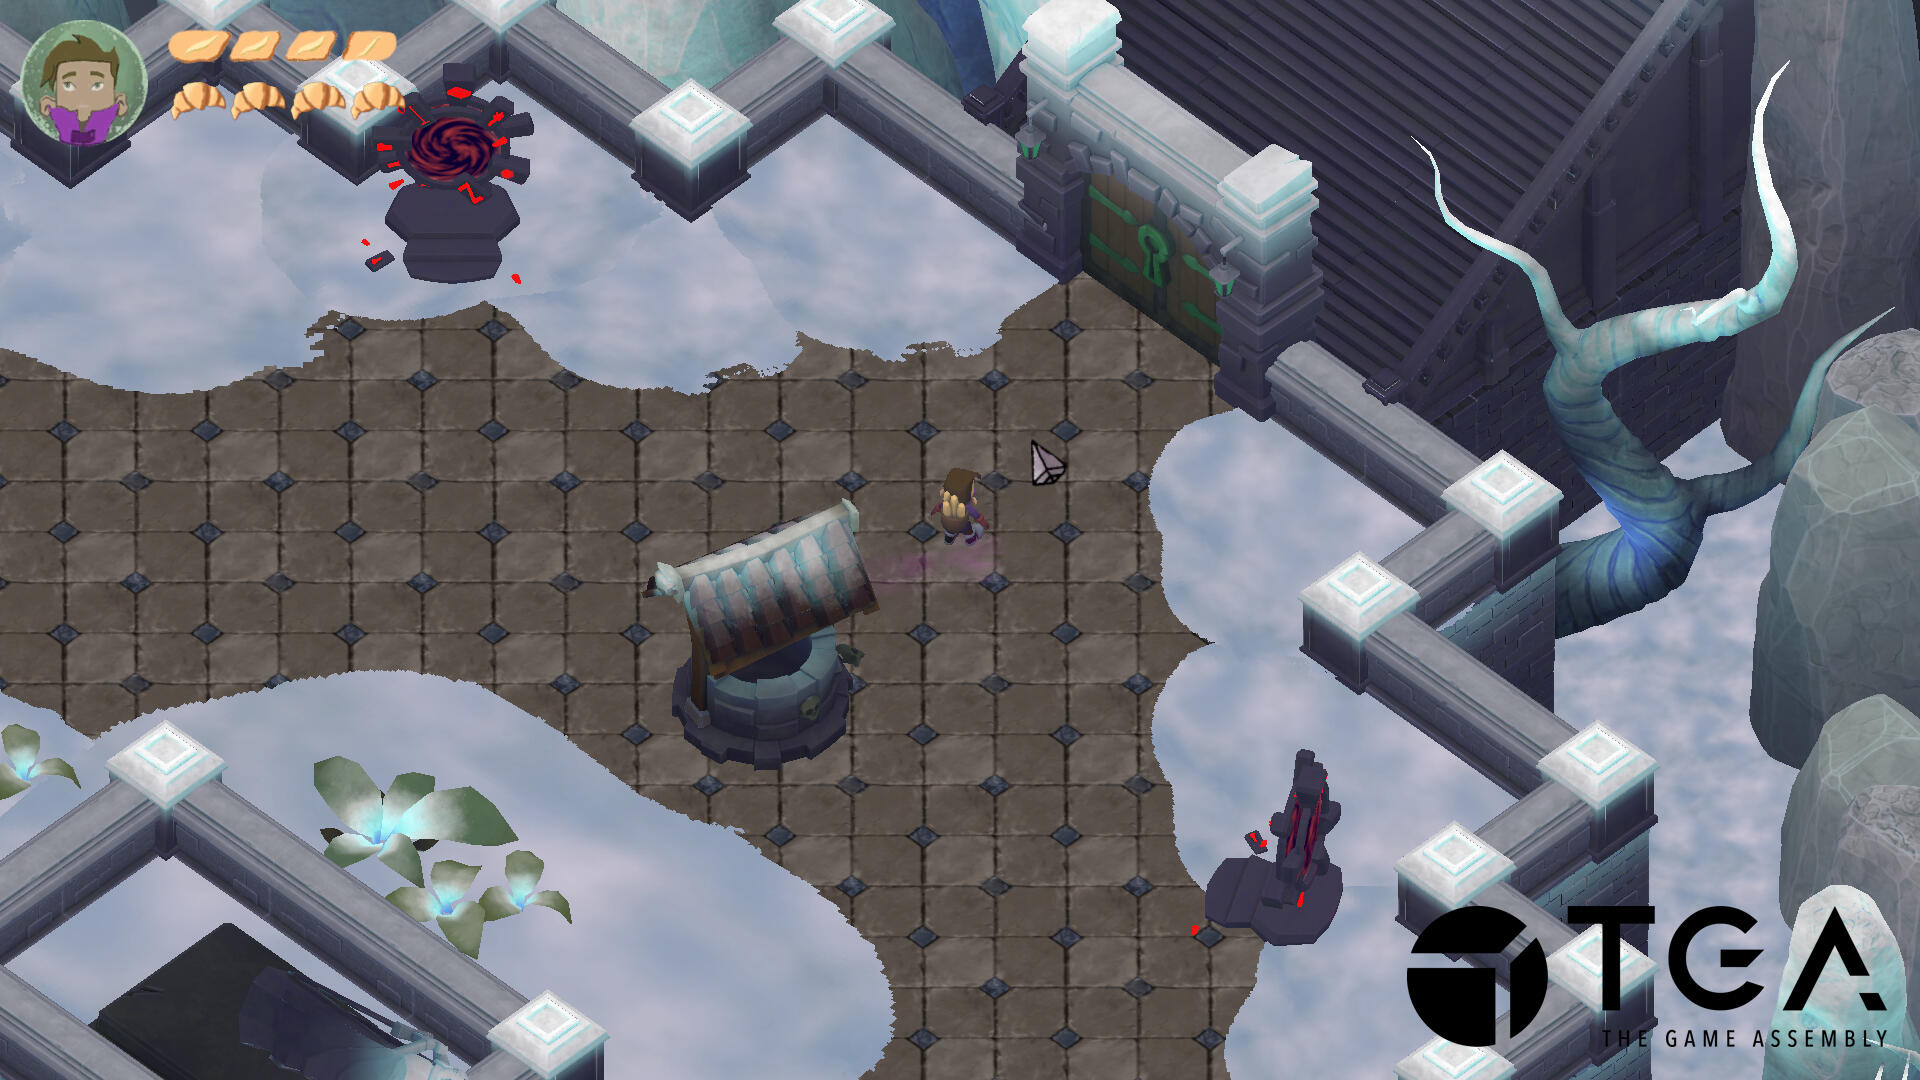
Warlock Activities
Project #4
Isometric Hack And Slash Adventure built with ECS
3D animation pipeline, Animation timing, Door states, Lighting and shadows

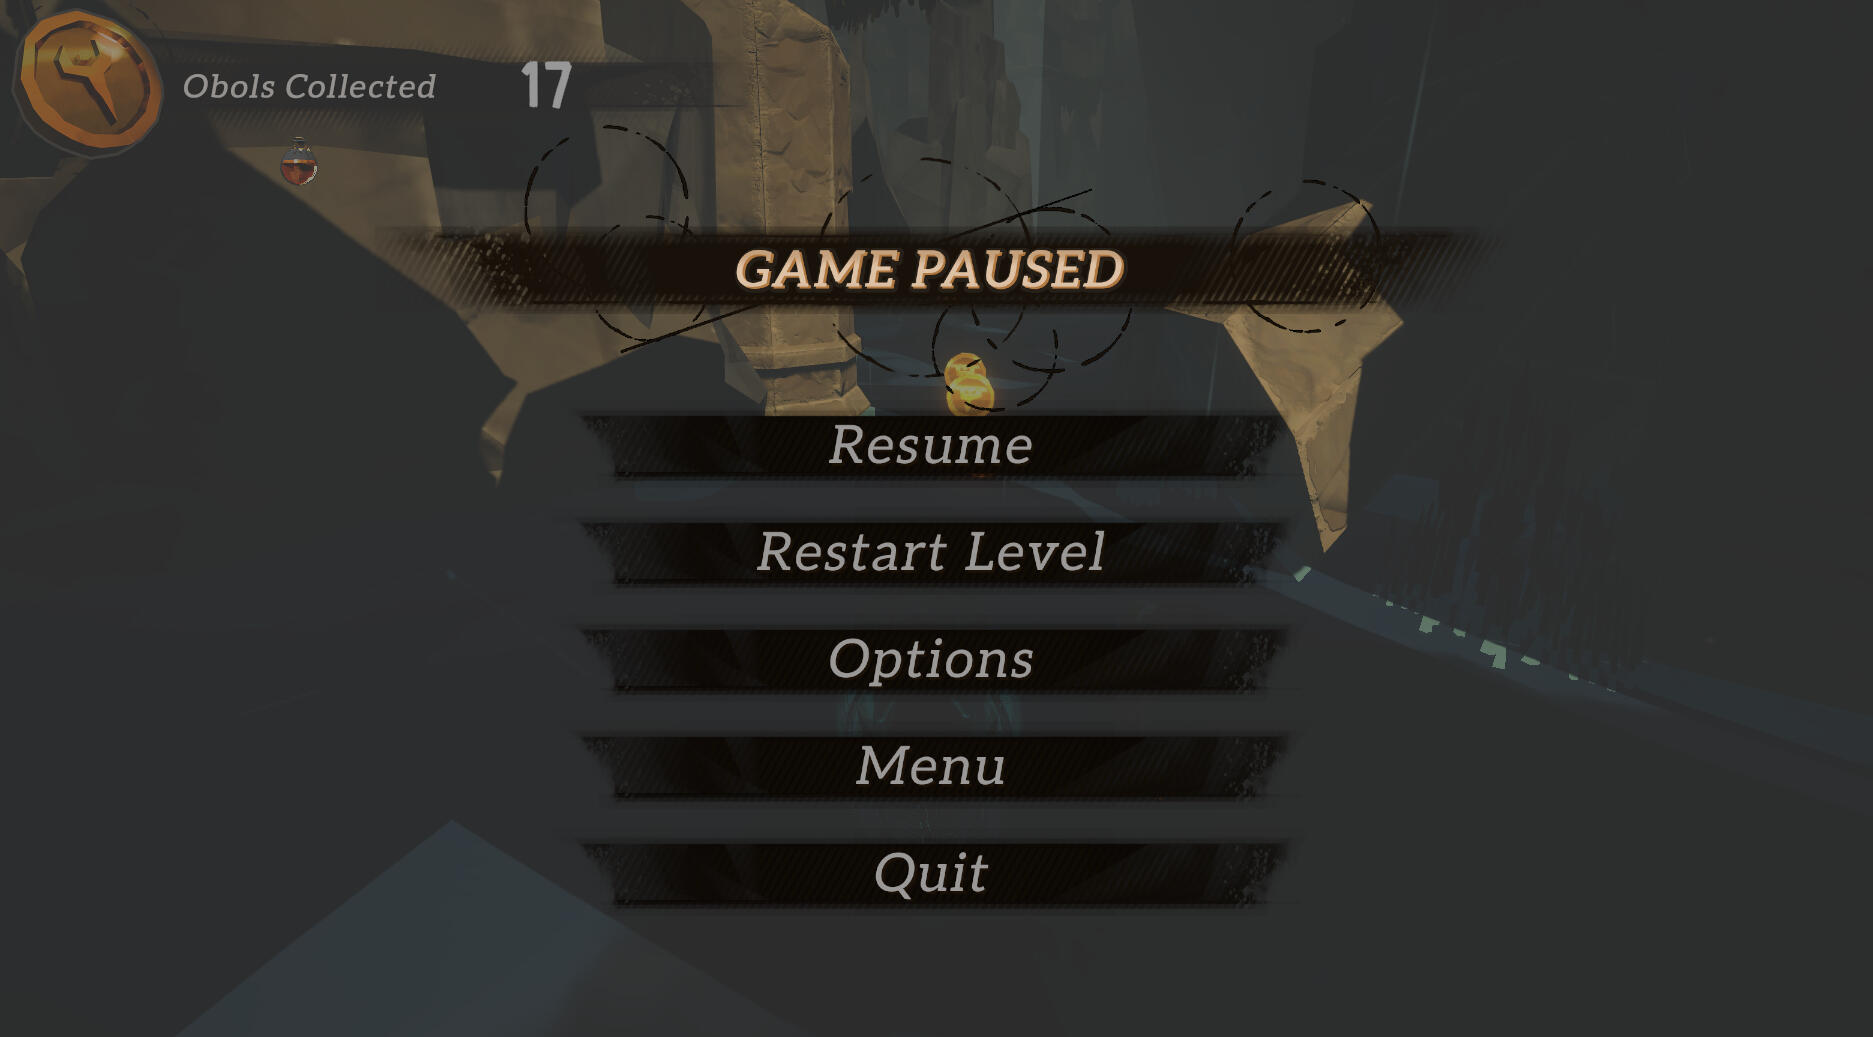
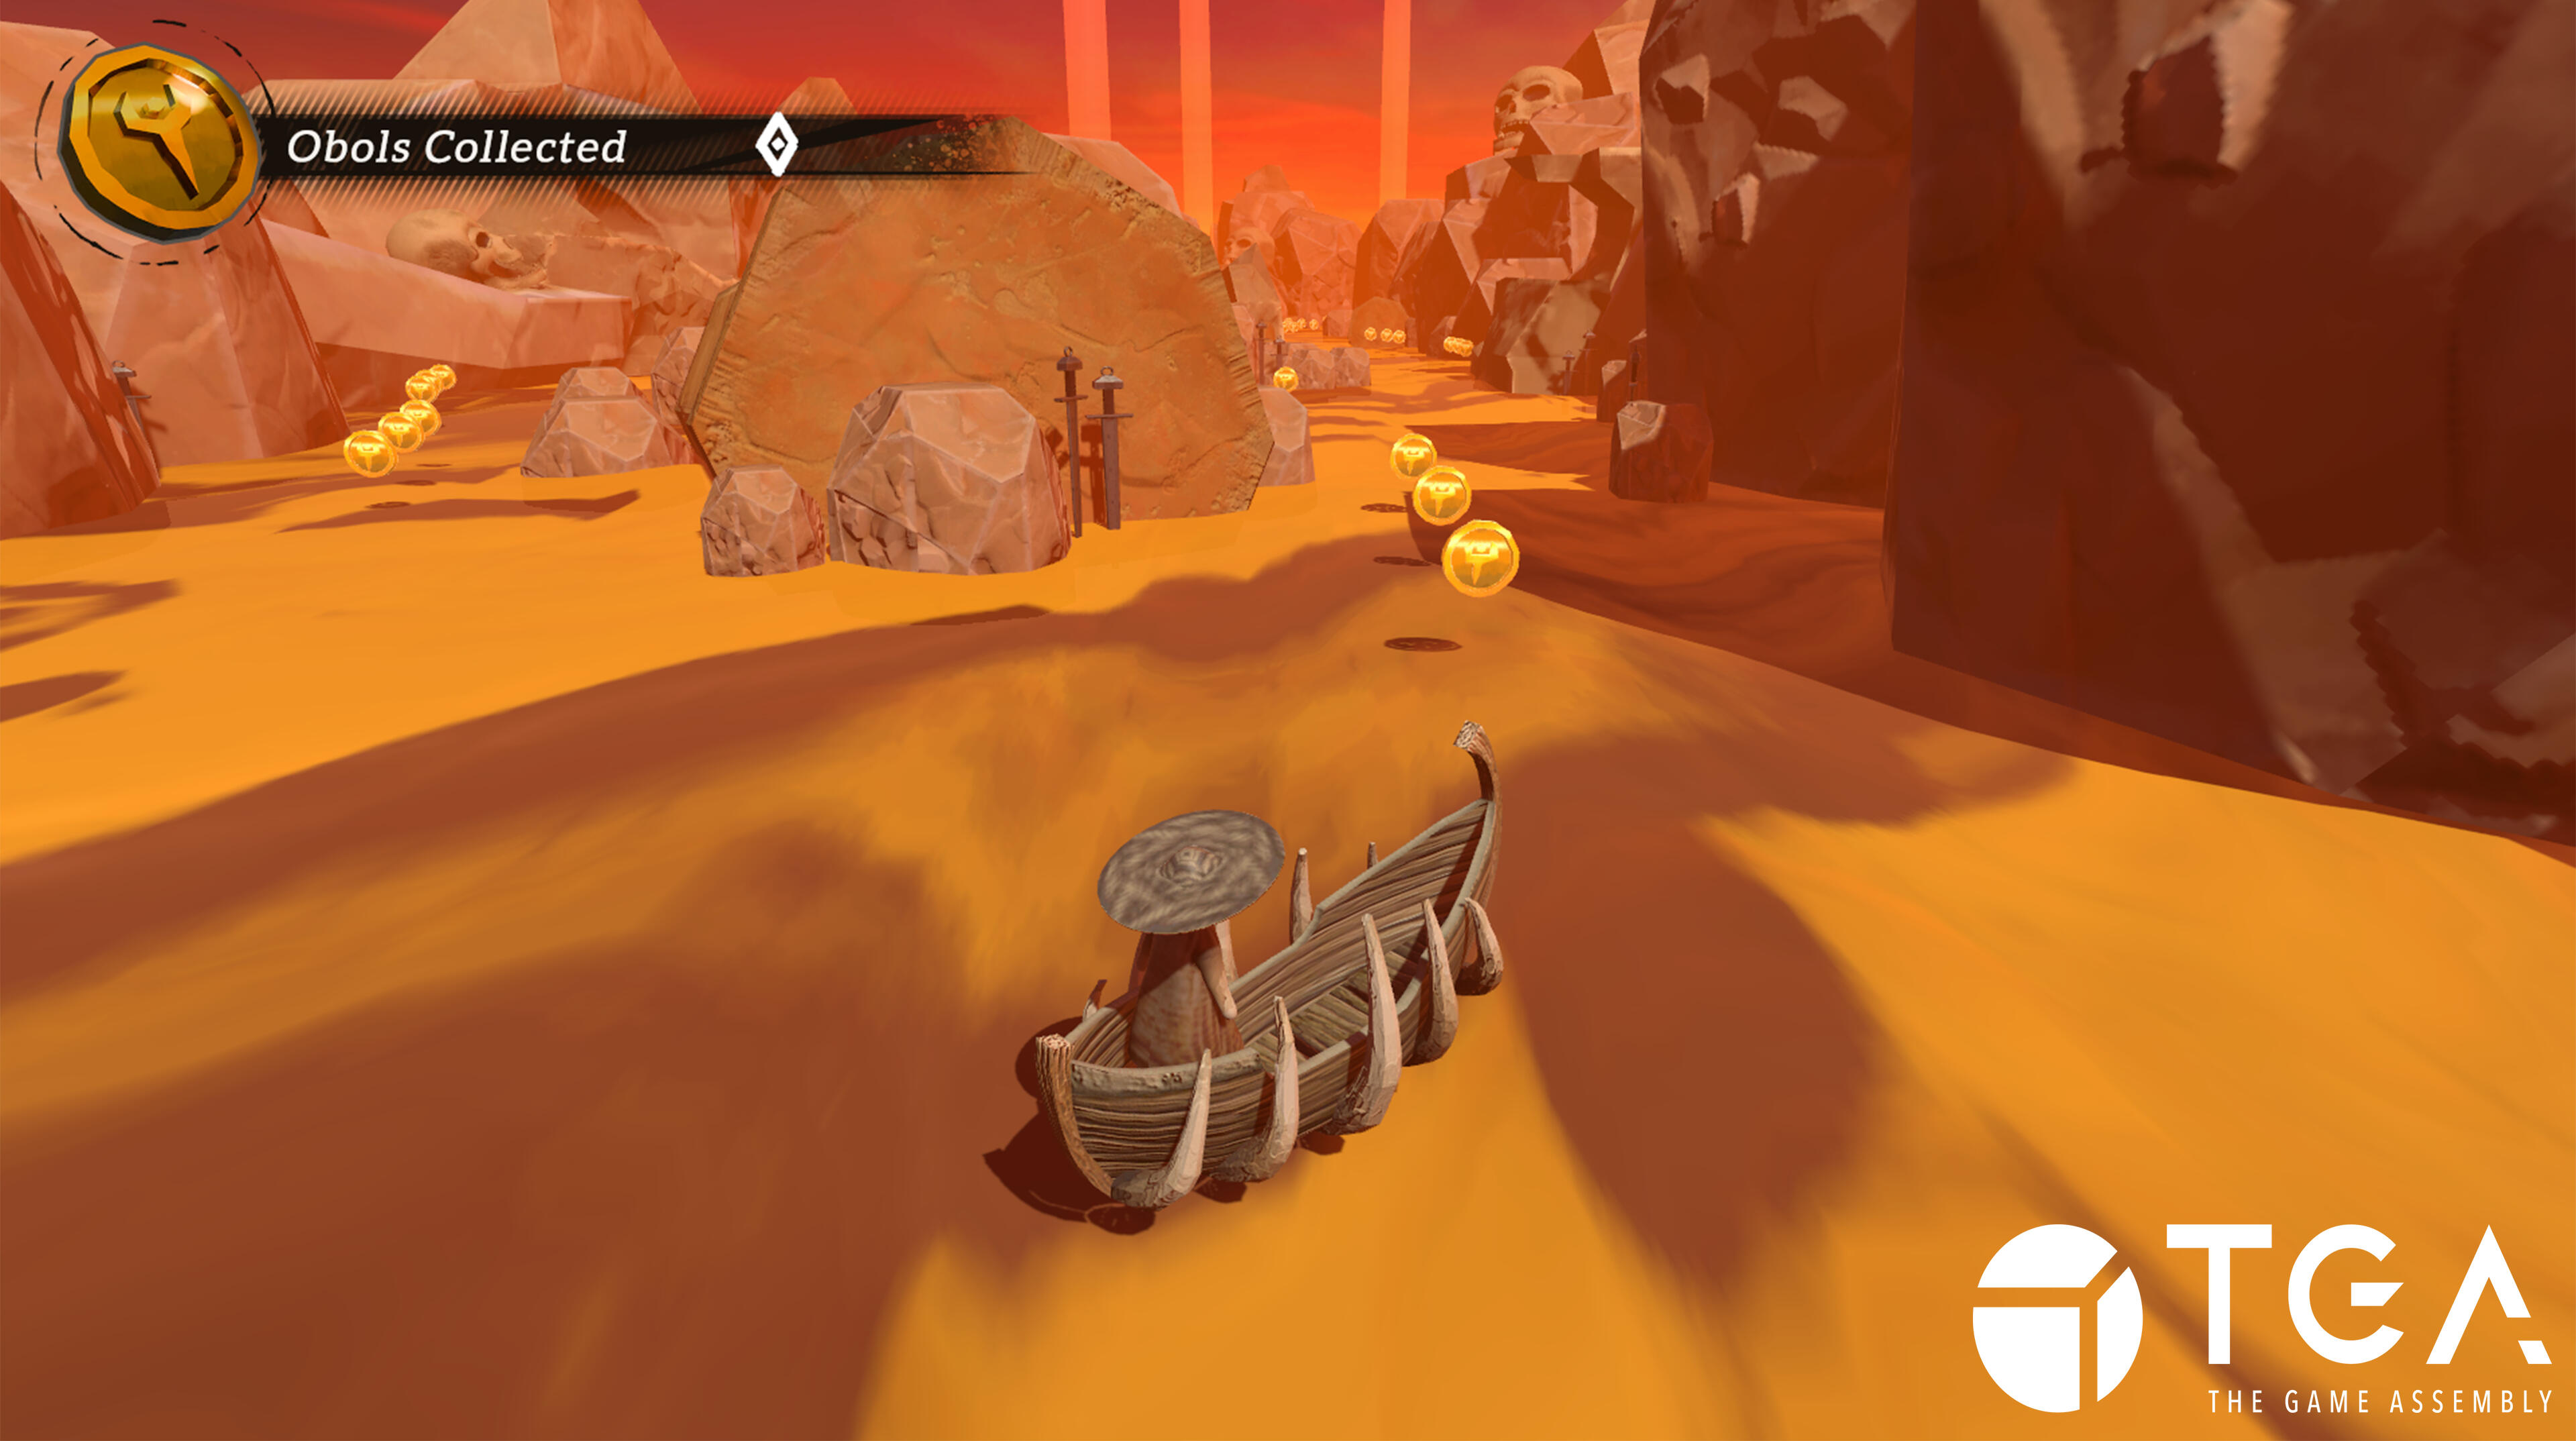
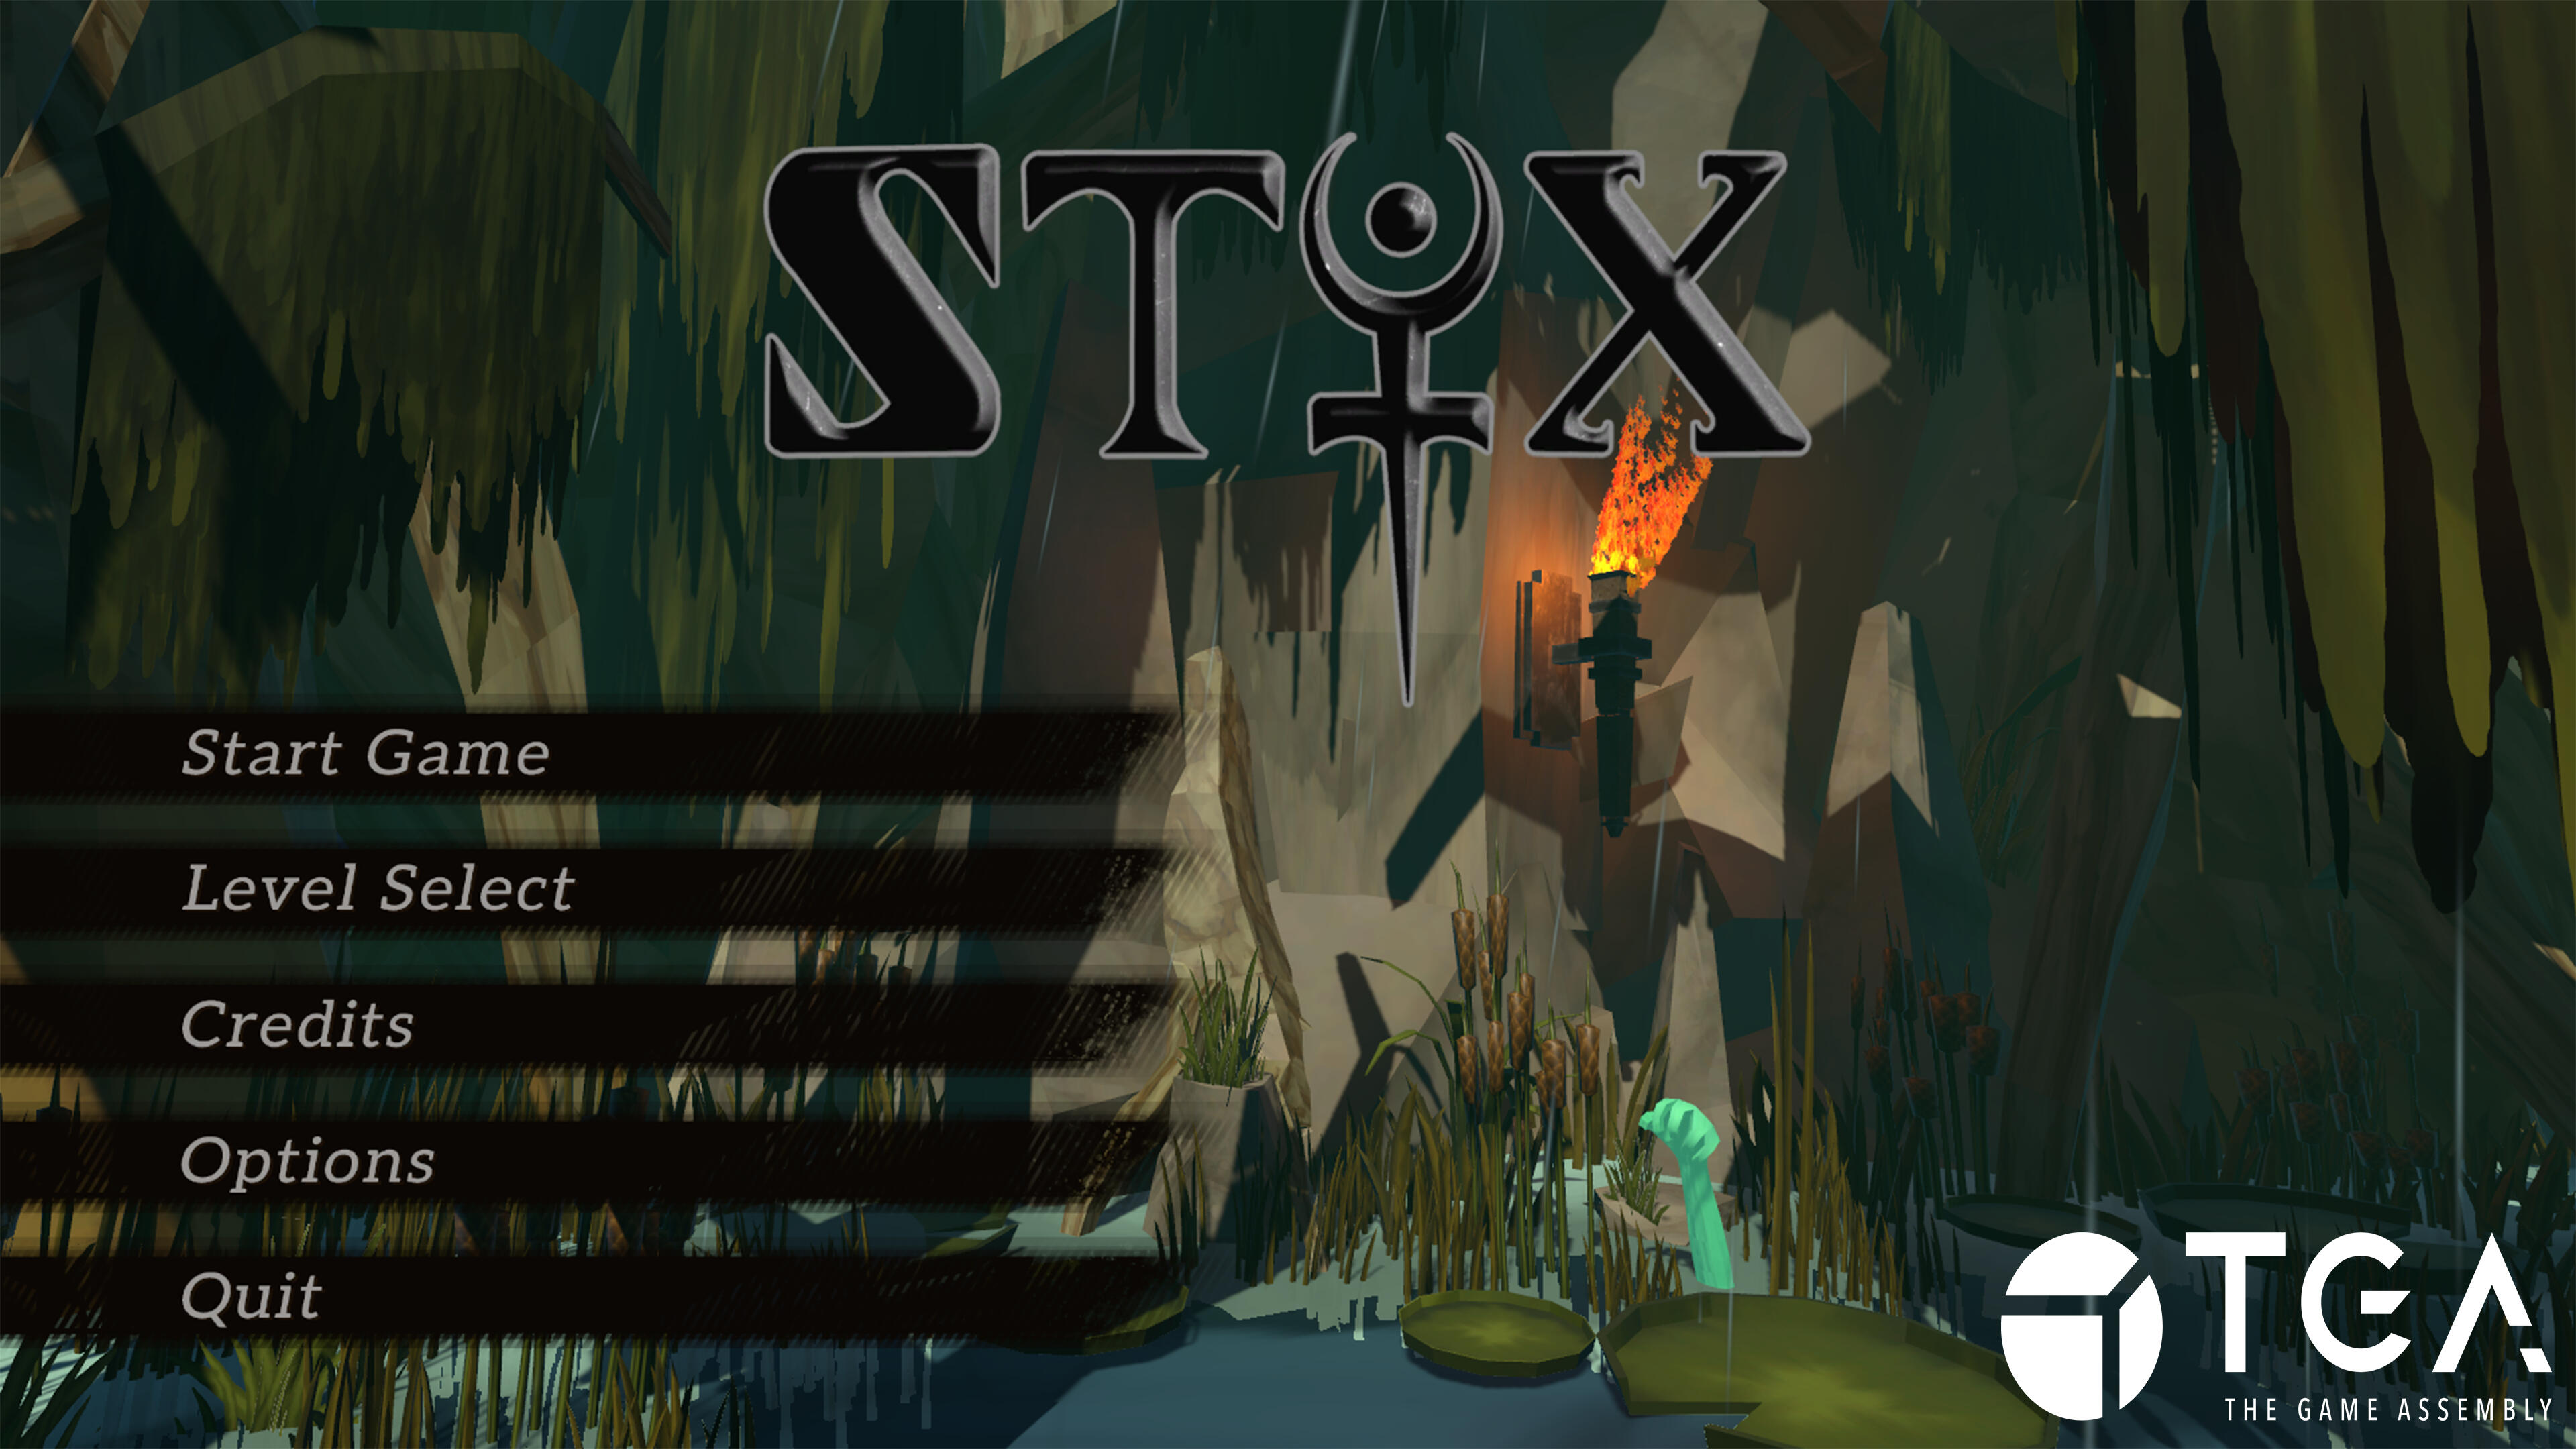
Styx
Project #1
Auto-Runner Game
UI, Player, and collectibles

Flesh In The Cogs
Project #2
Mobile Puzzle Game
UI implementation, UI animations, UI optimization for mobile
flesh in the cogs
Mobile Puzzle Game
Production time:
• 6 weeks half time
Reference game:
• Lara Croft GO
Engine:
• Unity (editor & engine)
Team:
• 2 Animators
• 4 Graphical Artists
• 2 Level Designers
• 5 Programmers
Made at The Game Assembly by:

my contributions
UI implementation & UI animations
I worked full time on this project to create animations for the UI, specifically the map, which had a unique visual for every level and a unique animation displaying it for the player. I also made idle animations for the main menu UI to make it look floaty
UI optimization & UI creation
Due to a lot of absense during the project, a lot of the graphical artists were in need of help. I helped them out by creating simple but easy UI in unity that was later shipped with the game. As this was a mobile game, I had to be very careful to not overdo it, as the performance was crucial.
reflections
Flesh In The Cogs was the second group project that we made at The Game Assembly. I took on the entire UI implementation for myself during this project, as I found it to be really enjoyable in Styx, the first group project. I wanted to make the UI feel more alive with animations, as we had a space-themed game. As well as when you use the level select, a specific animation will play for every level that you choose. I felt that handling only UI was not enough to be properly challenged, so I tried to really make it as enjoyable as possible.
project showreel
styx
Auto-Runner Game
Production time:
• 6 weeks half time
Reference game:
• Race the sun
Engine:
• Unity (editor & engine)
Team:
• 2 Animators
• 4 Graphical Artists
• 2 Level Designers
• 5 Programmers
Made at The Game Assembly by:
my contributions
UI implementation
As I wanted to try out almost everything in this project to get a feel for what I enjoy. One thing that really stuck was UI, so naturally I started to work more on the UI and implementing a majority of the buttons and UI in the game.
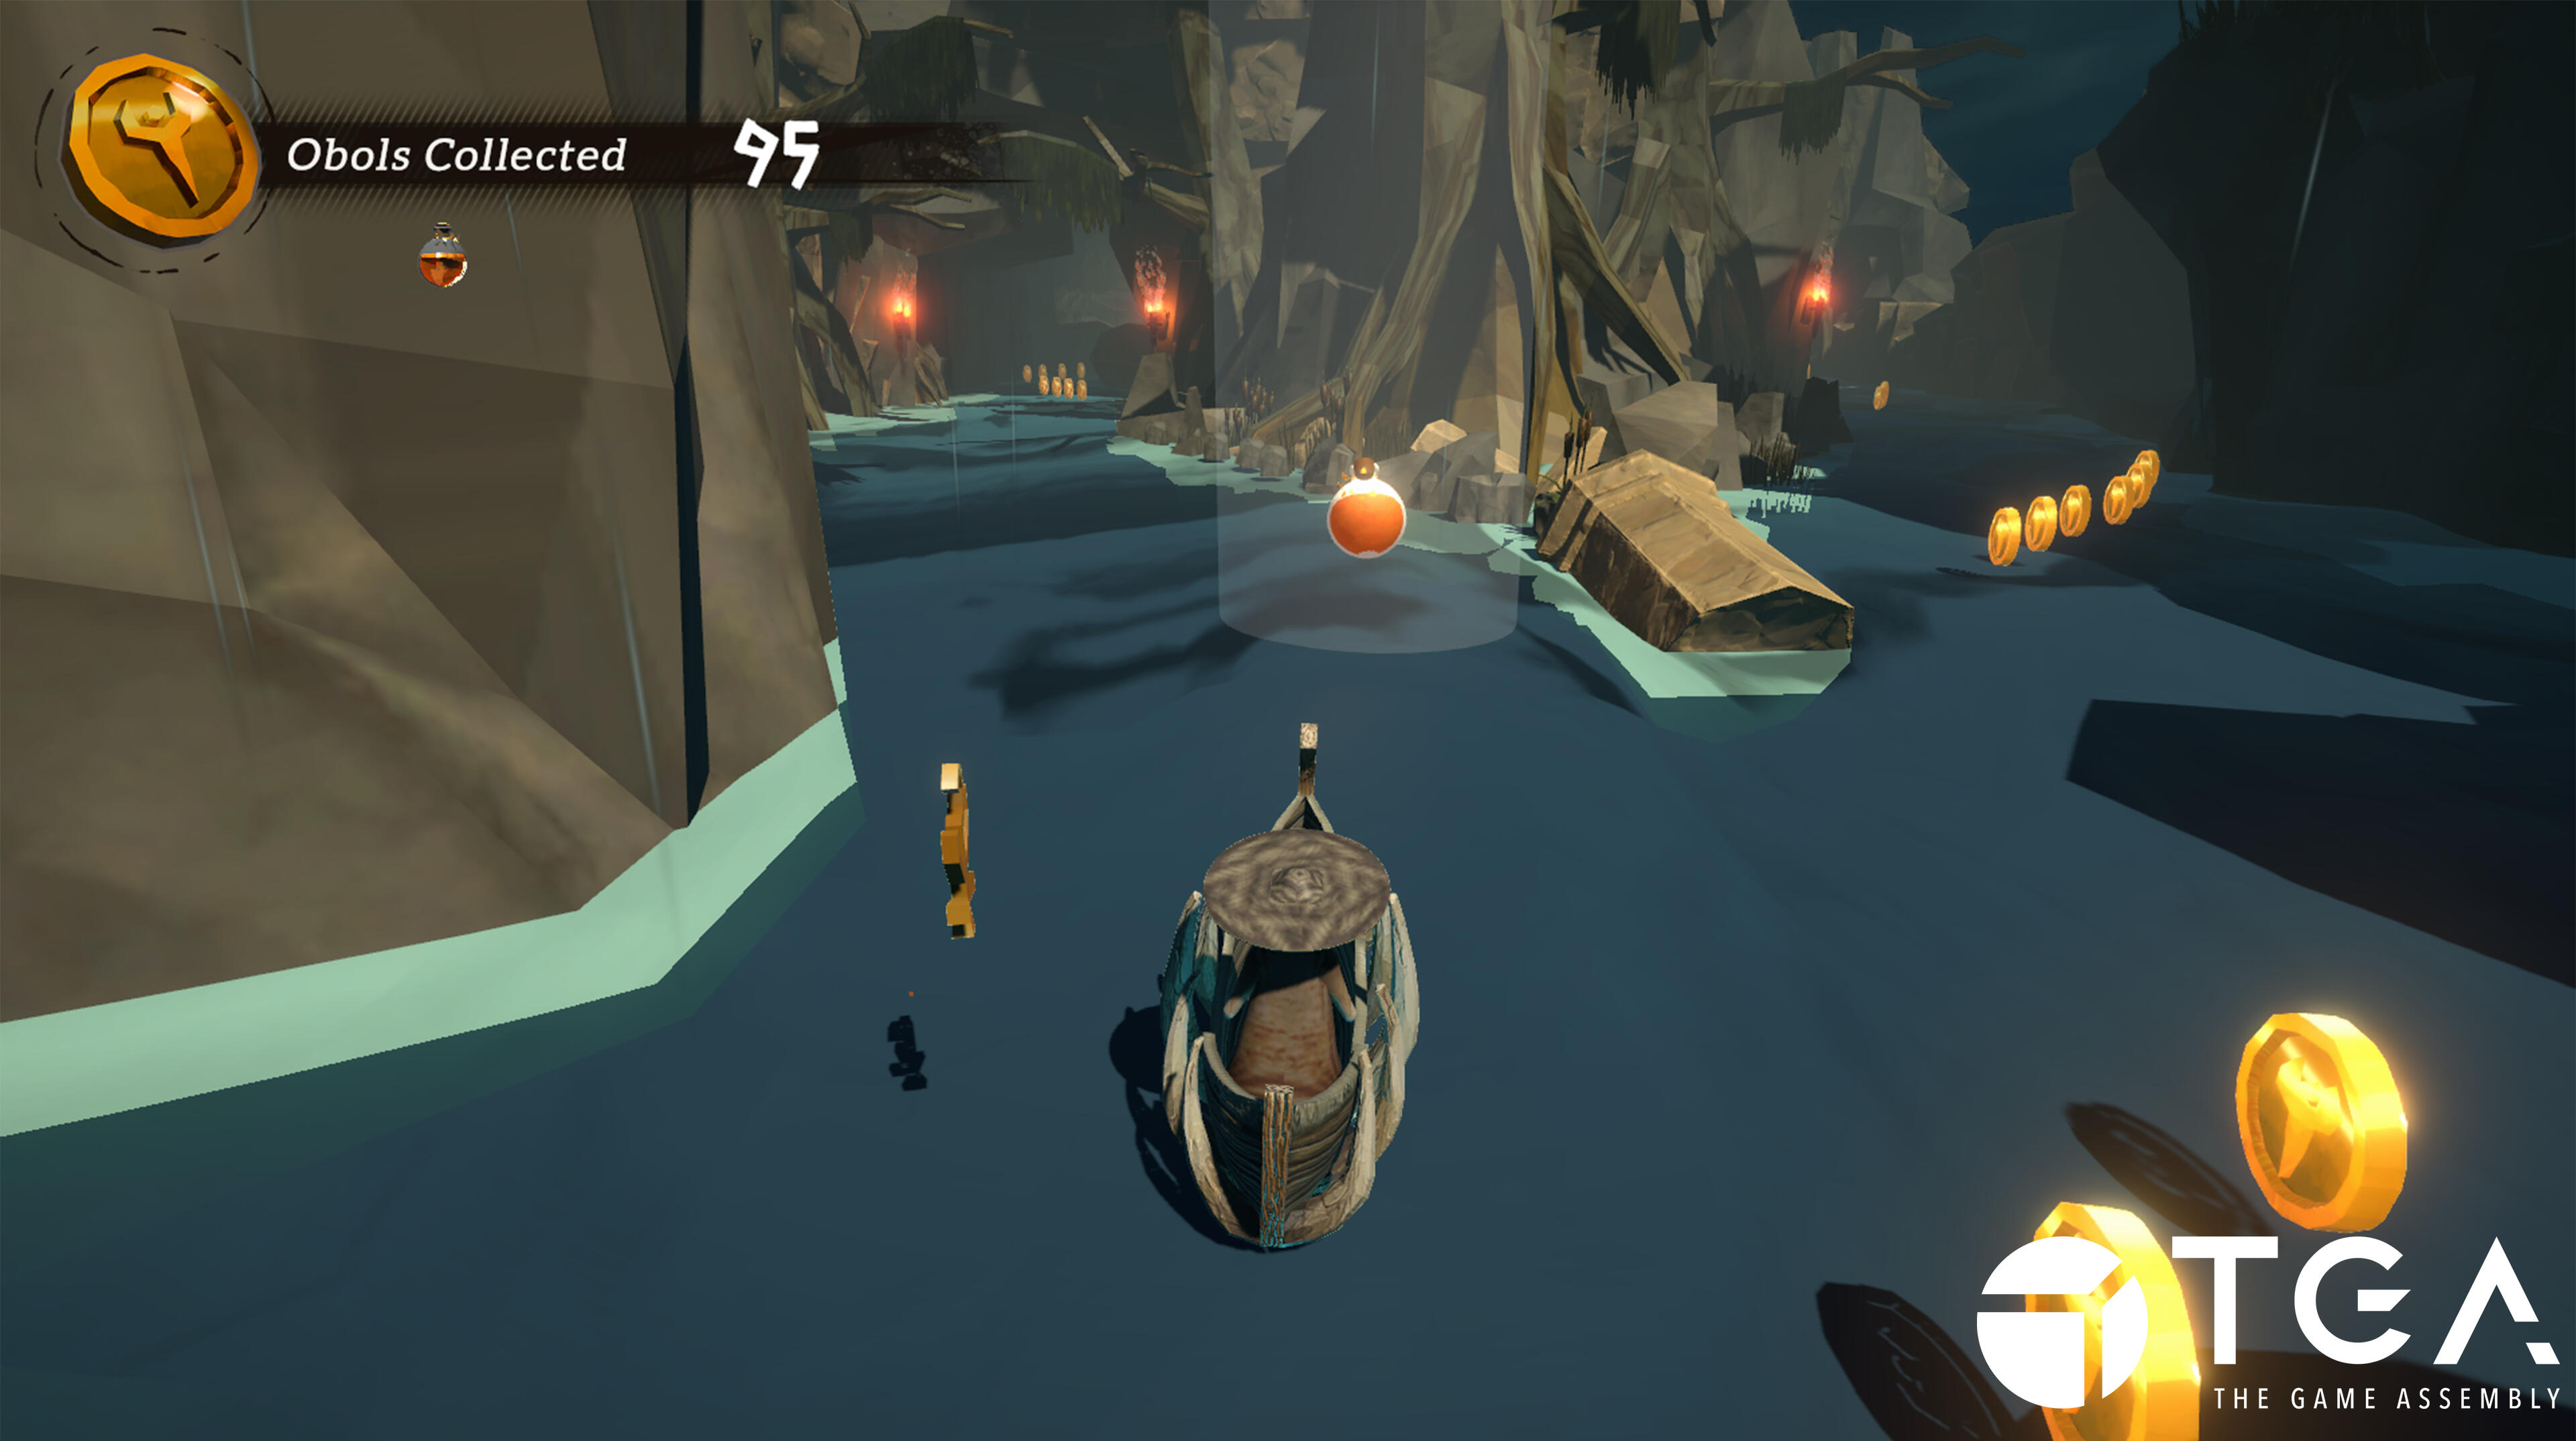
Collectibles visual feedback & Movement
The first thing I worked on this project was the first iteration of the movement. We also wanted to make it clear that you picked up the power-ups, so I transported it above the player and made it sink into them!

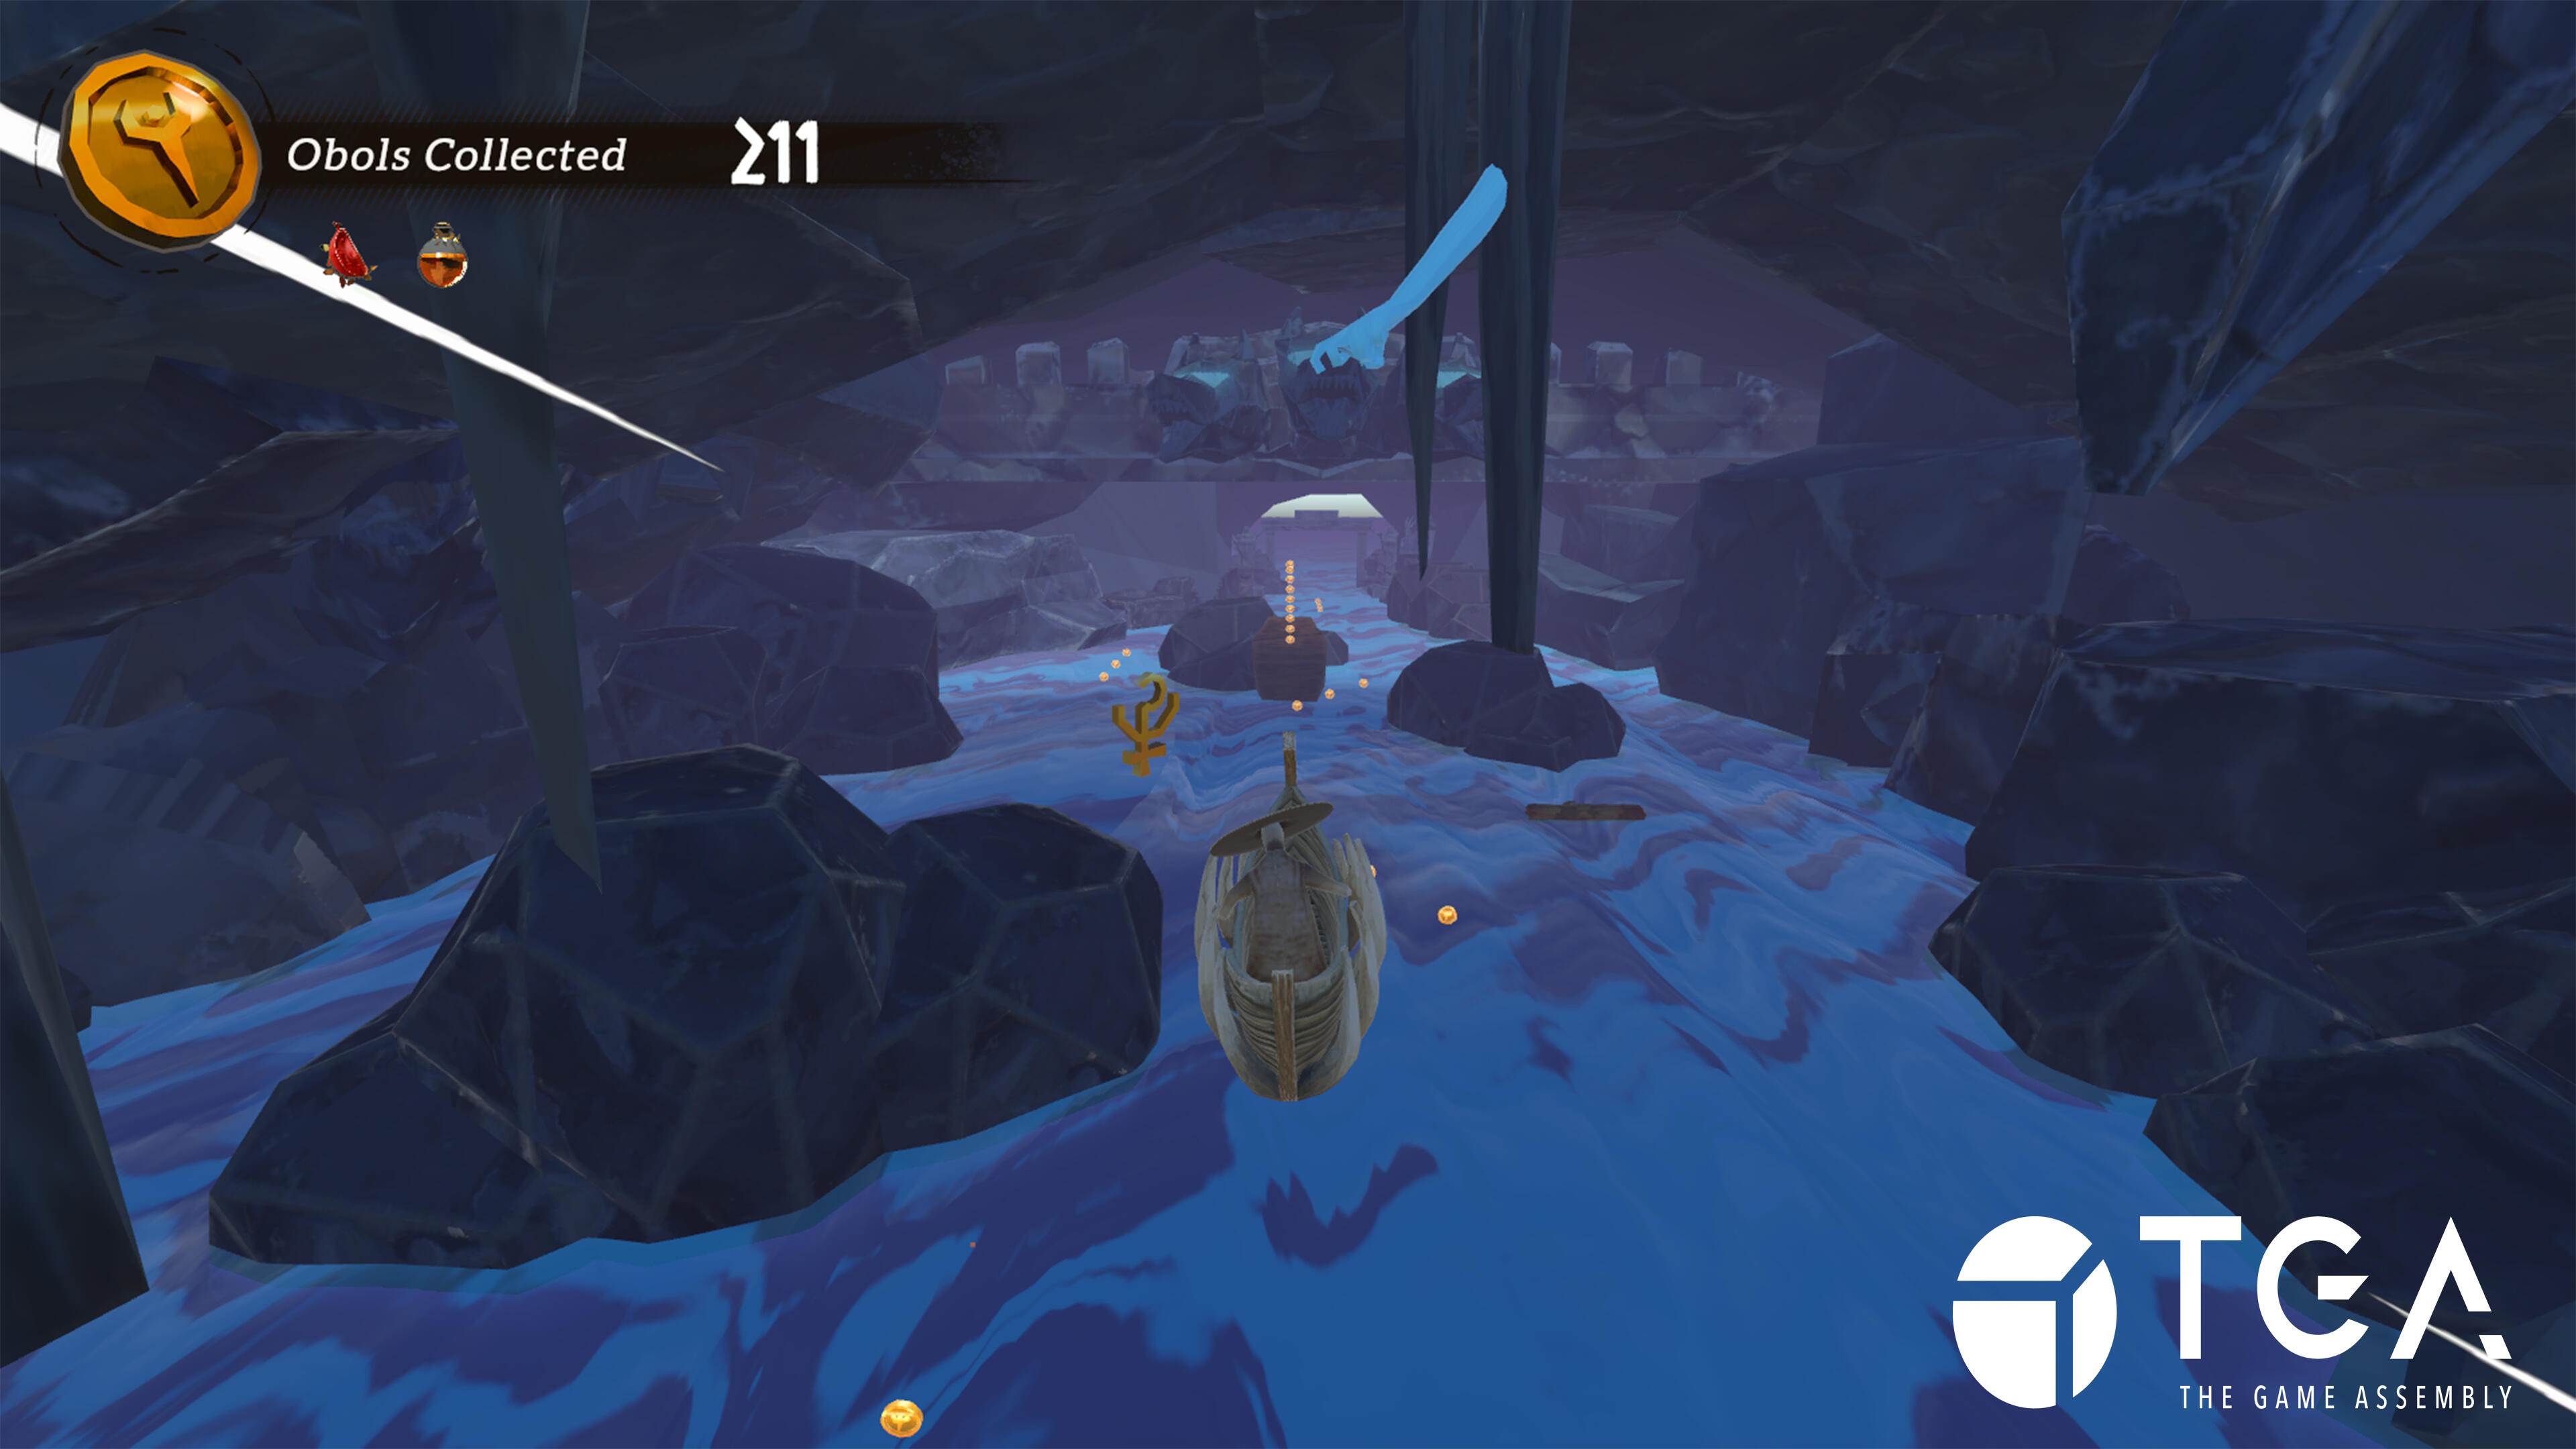
reflections
Styx was our first game project at The Game Assembly, and my first game in Unity. I learned a lot about working in a mainstream game engine, something that was quite unfamiliar to me at first.At the beginning of the project, both to familiarize myself with working in Unity as well as to provide something tangible, I worked on player movement with a co-worker, which was successful.I then moved on to working on the UI implementation, including collectibles, as well as implementing visual feedback for every collectible.
project showreel
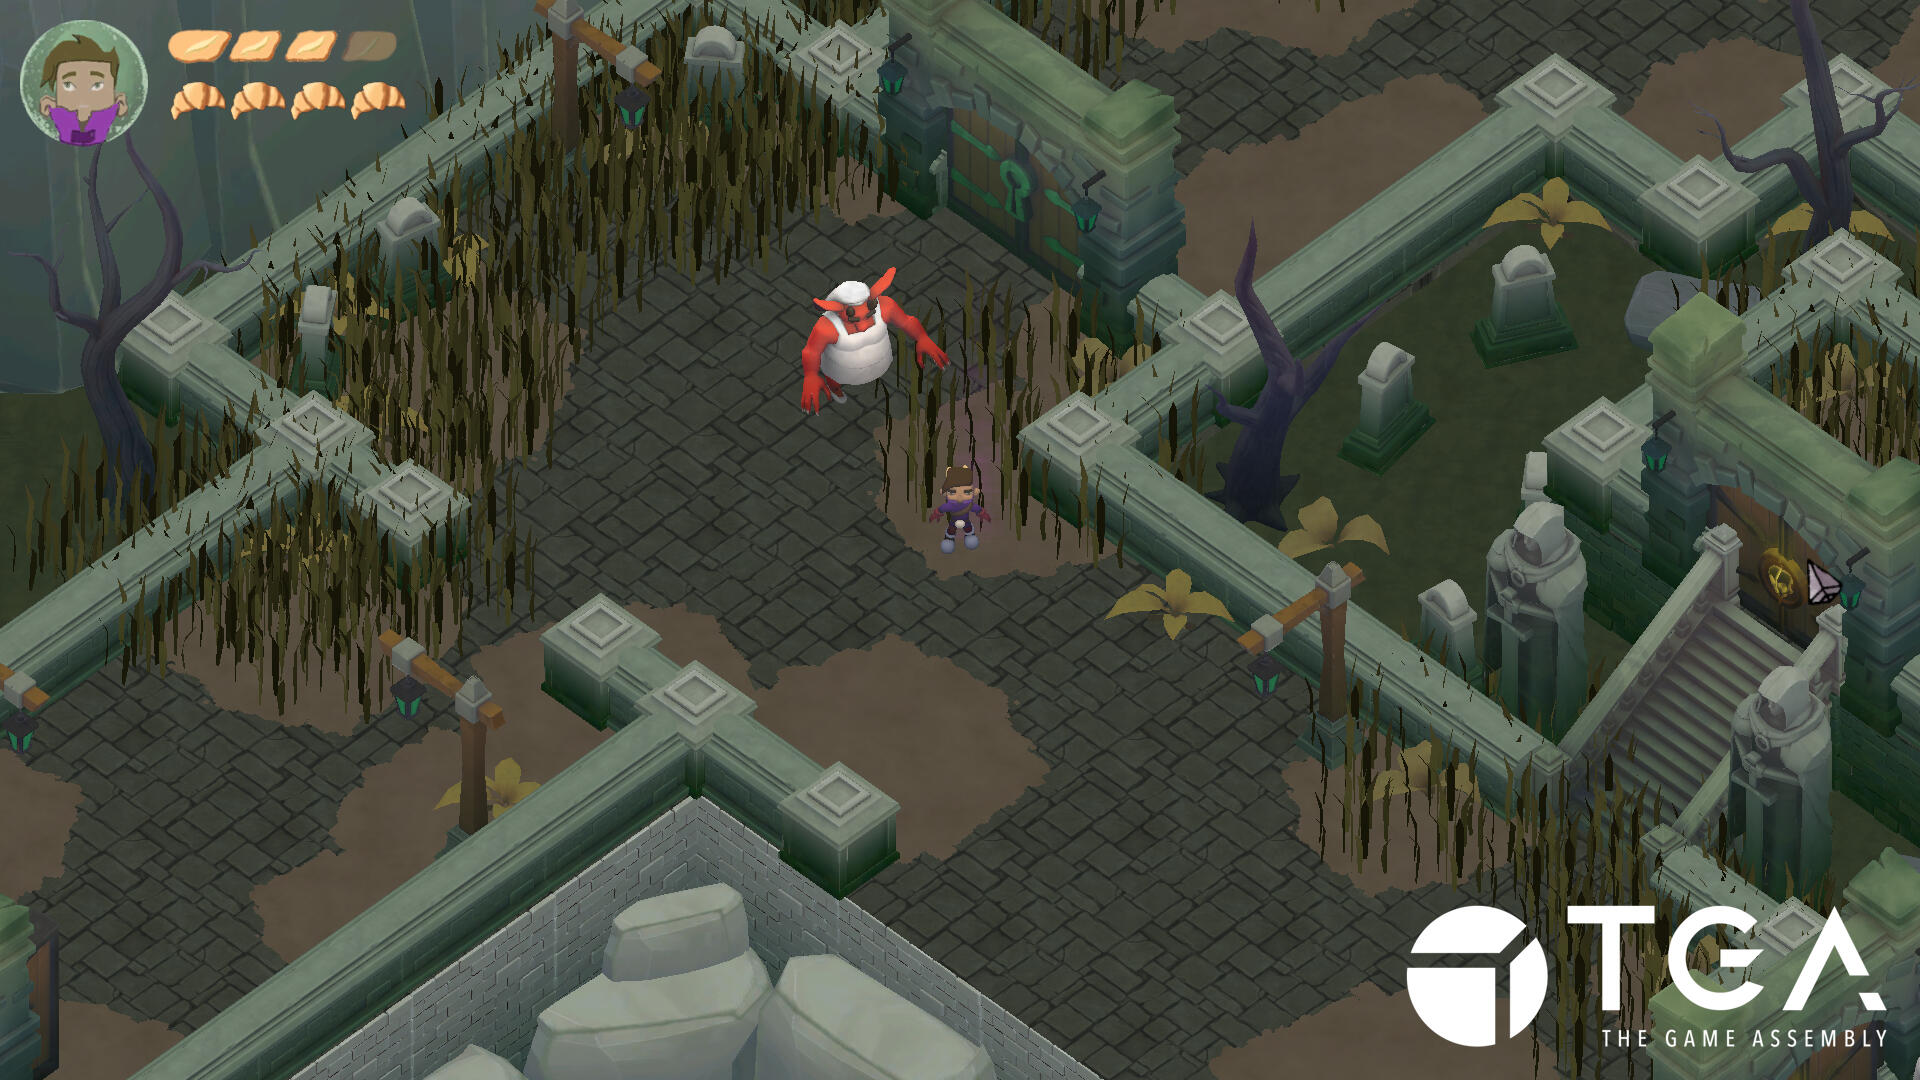
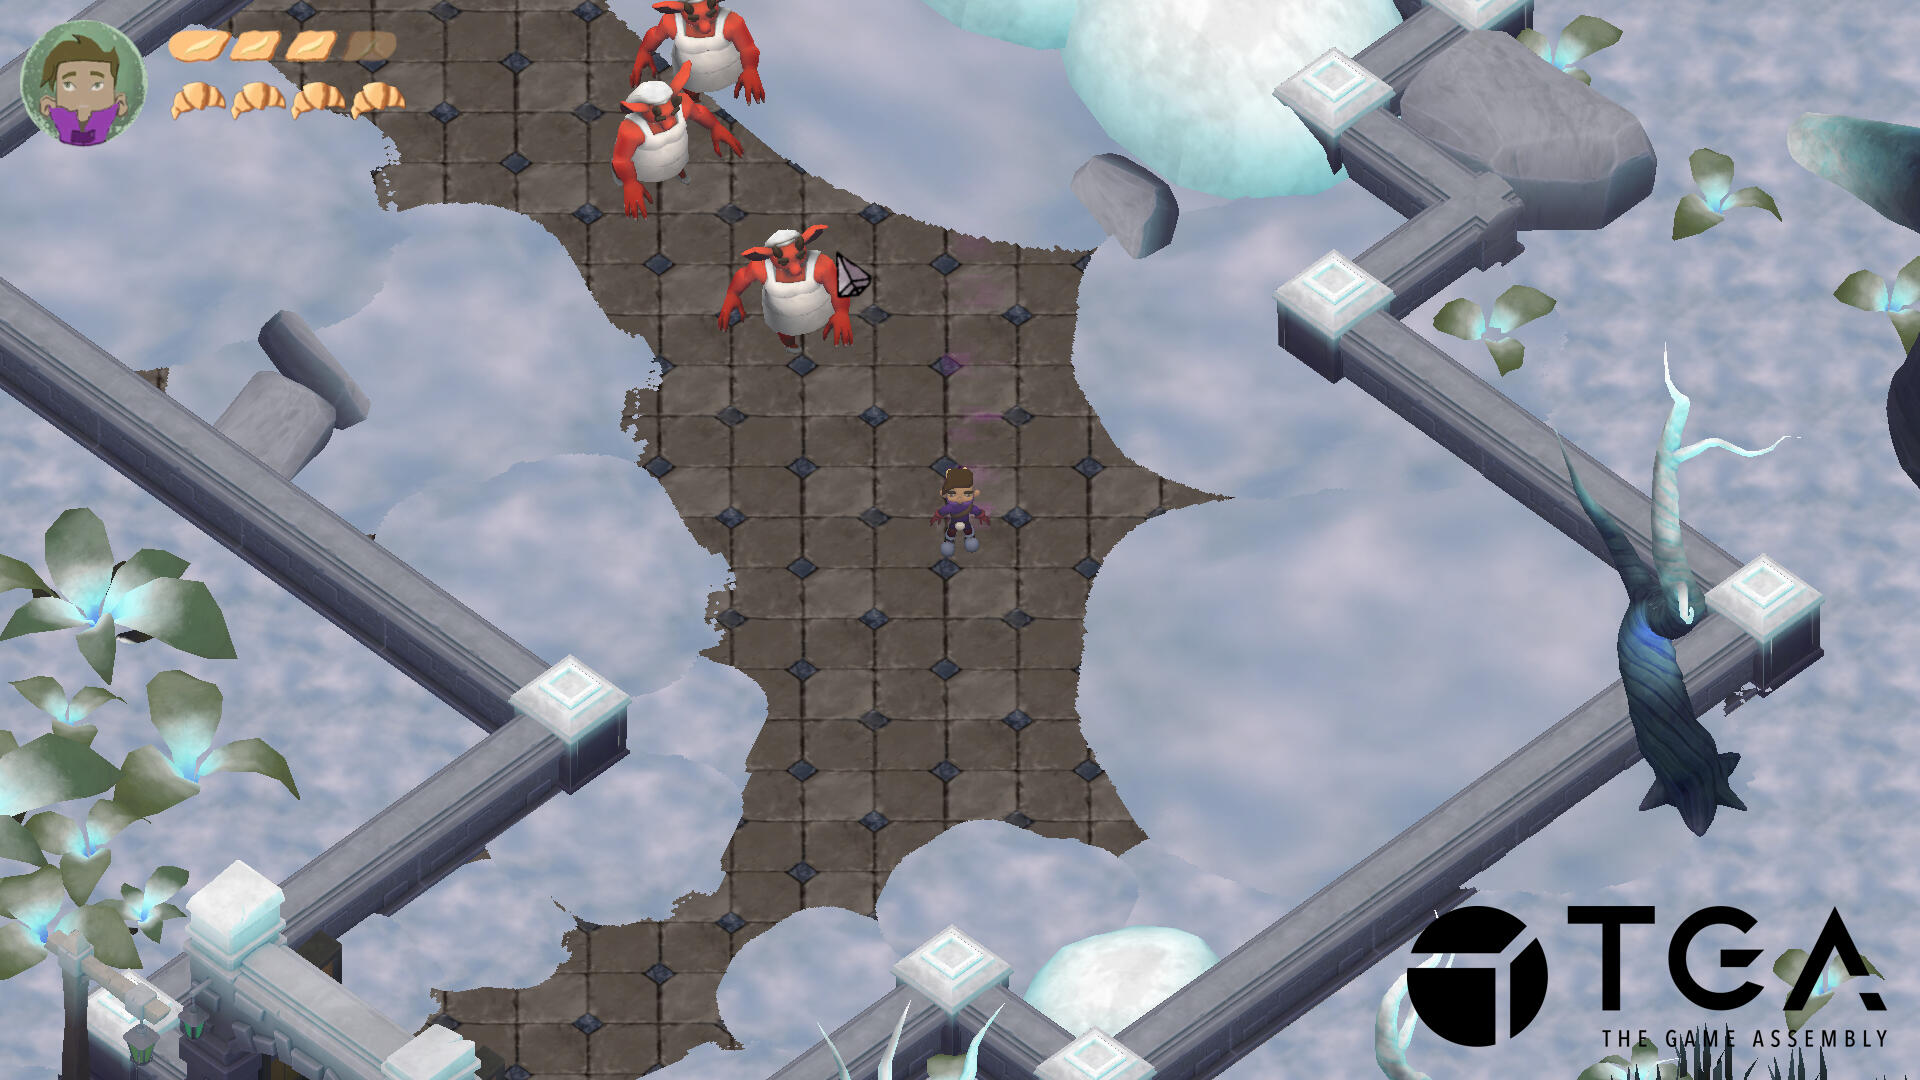
warlock activities
Isometric Hack And Slash Adventure
Production time:
• 6 weeks half time
Reference game:
• Death's door
Engine:
• Unity (editor)
• TGA Custom engine
Team:
• 2 Animators
• 4 Graphical Artists
• 2 Level Designers
• 5 Programmers
Made at The Game Assembly by:

my contributions
Animation pipeline and timings
I built the animation component completly from scratch. This was the first project using 3D, so I had to learn how to handle 3D models, textures and how to get everything properly. We used a state machine architechture for this.

Various animations playing all over the place
Shadows and lighting
This was my first time experimenting with shadows and lighting. We got a tutorial project from our educators. I used this project to reverse-engineer the lighting and shadow shader to implement in our game.

Lighting and shadows existing even though it was cut
reflections
At the start of this project, I was eager to handle the animations. I saw it as an opportunity to challenge myself and create a working animation pipeline from scratch. I also integrated a lighting and shadow system to enhance the visuals and general feedback of the game. This feature was later cut due to framerate optimization. This was also the first time I have worked with ECS, which was difficult to get used to, but also very interesting. I'd be happy to use it again in the future as I believe it was very efficient.
project showreel
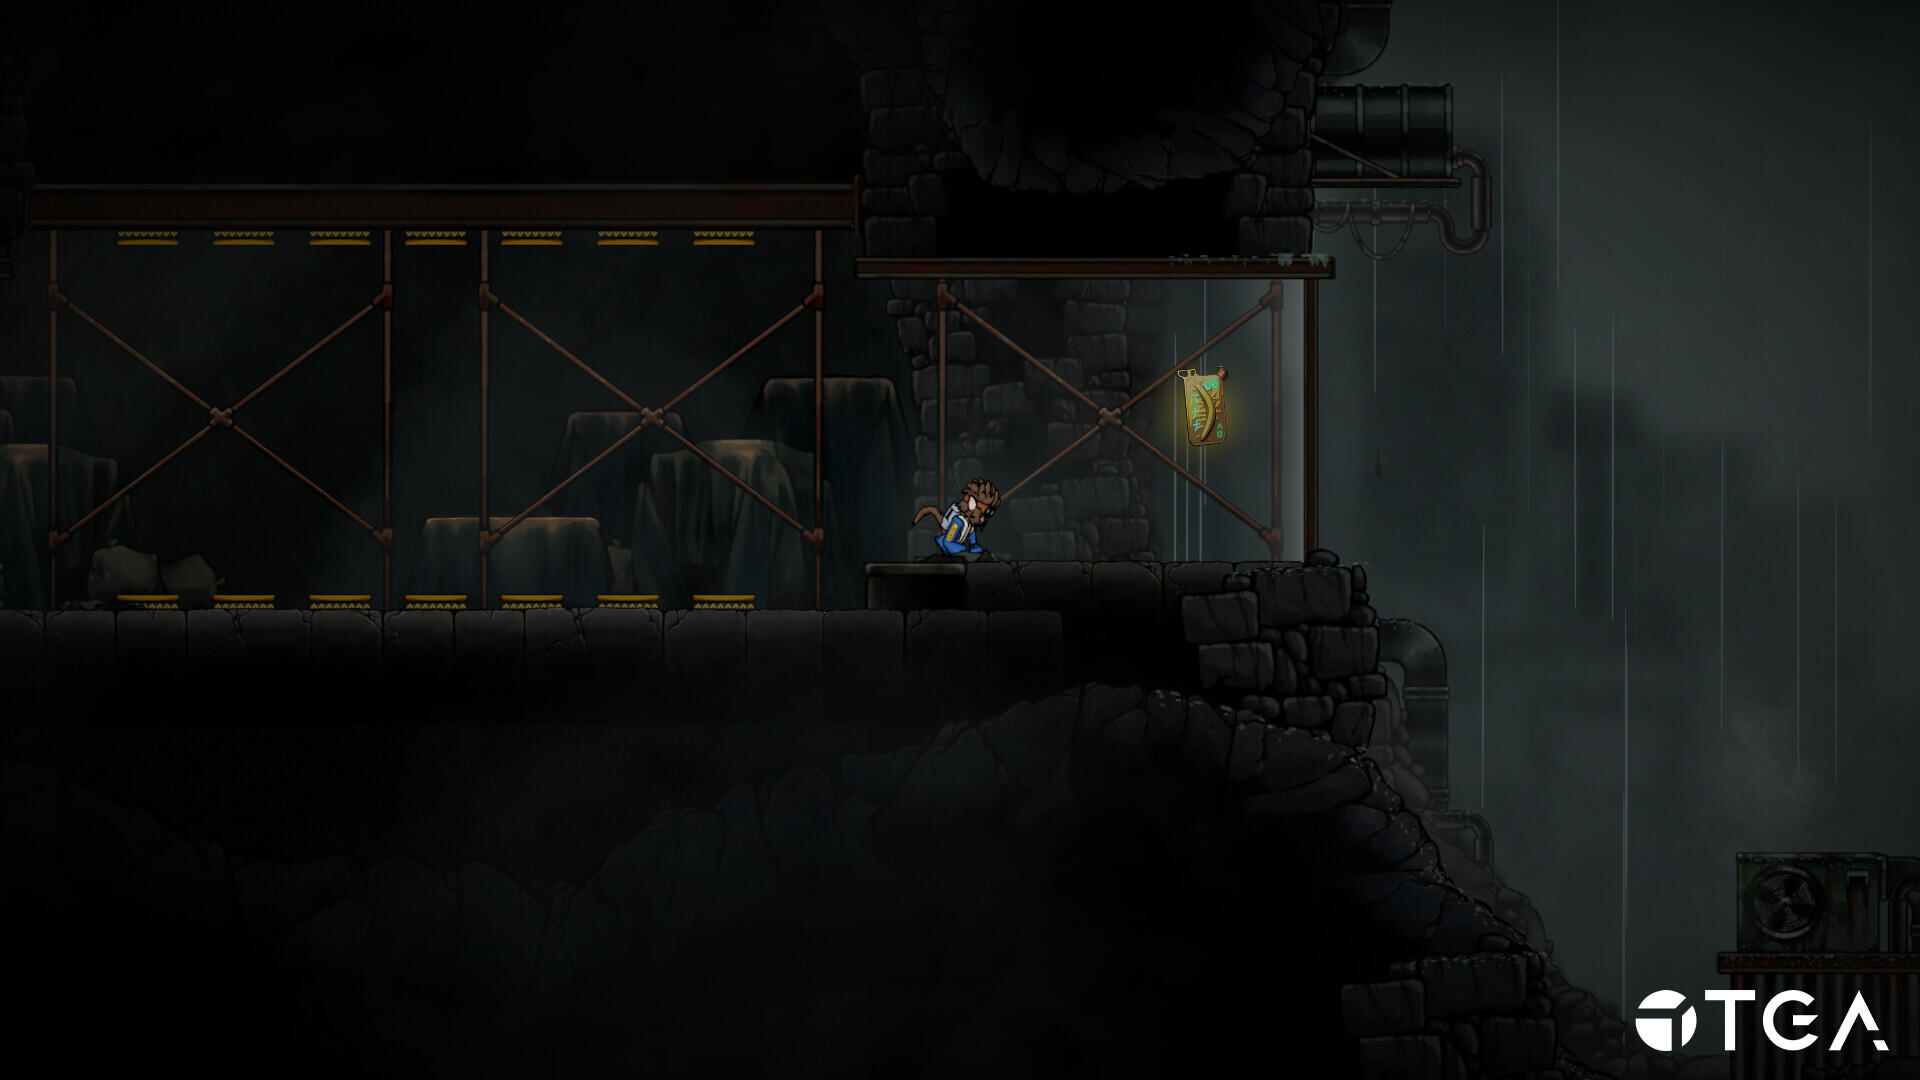
unbound
Side-Scrolling Precision Platformer
Production time:
• 12 weeks half time
Reference game:
• Celeste
Engine:
• Unity (editor)
• TGA Custom engine
Team:
• 2 Animators
• 4 Graphical Artists
• 2 Level Designers
• 5 Programmers
Made at The Game Assembly by:
unbound is released on steam
my contributions
Full player movement
As our game was very movement heavy, I wanted to have permanent iteration on our player movement, as it is the main feature of the game. I wanted to handle the player movement over the course of the entire project.

A display using a lot of the movement features
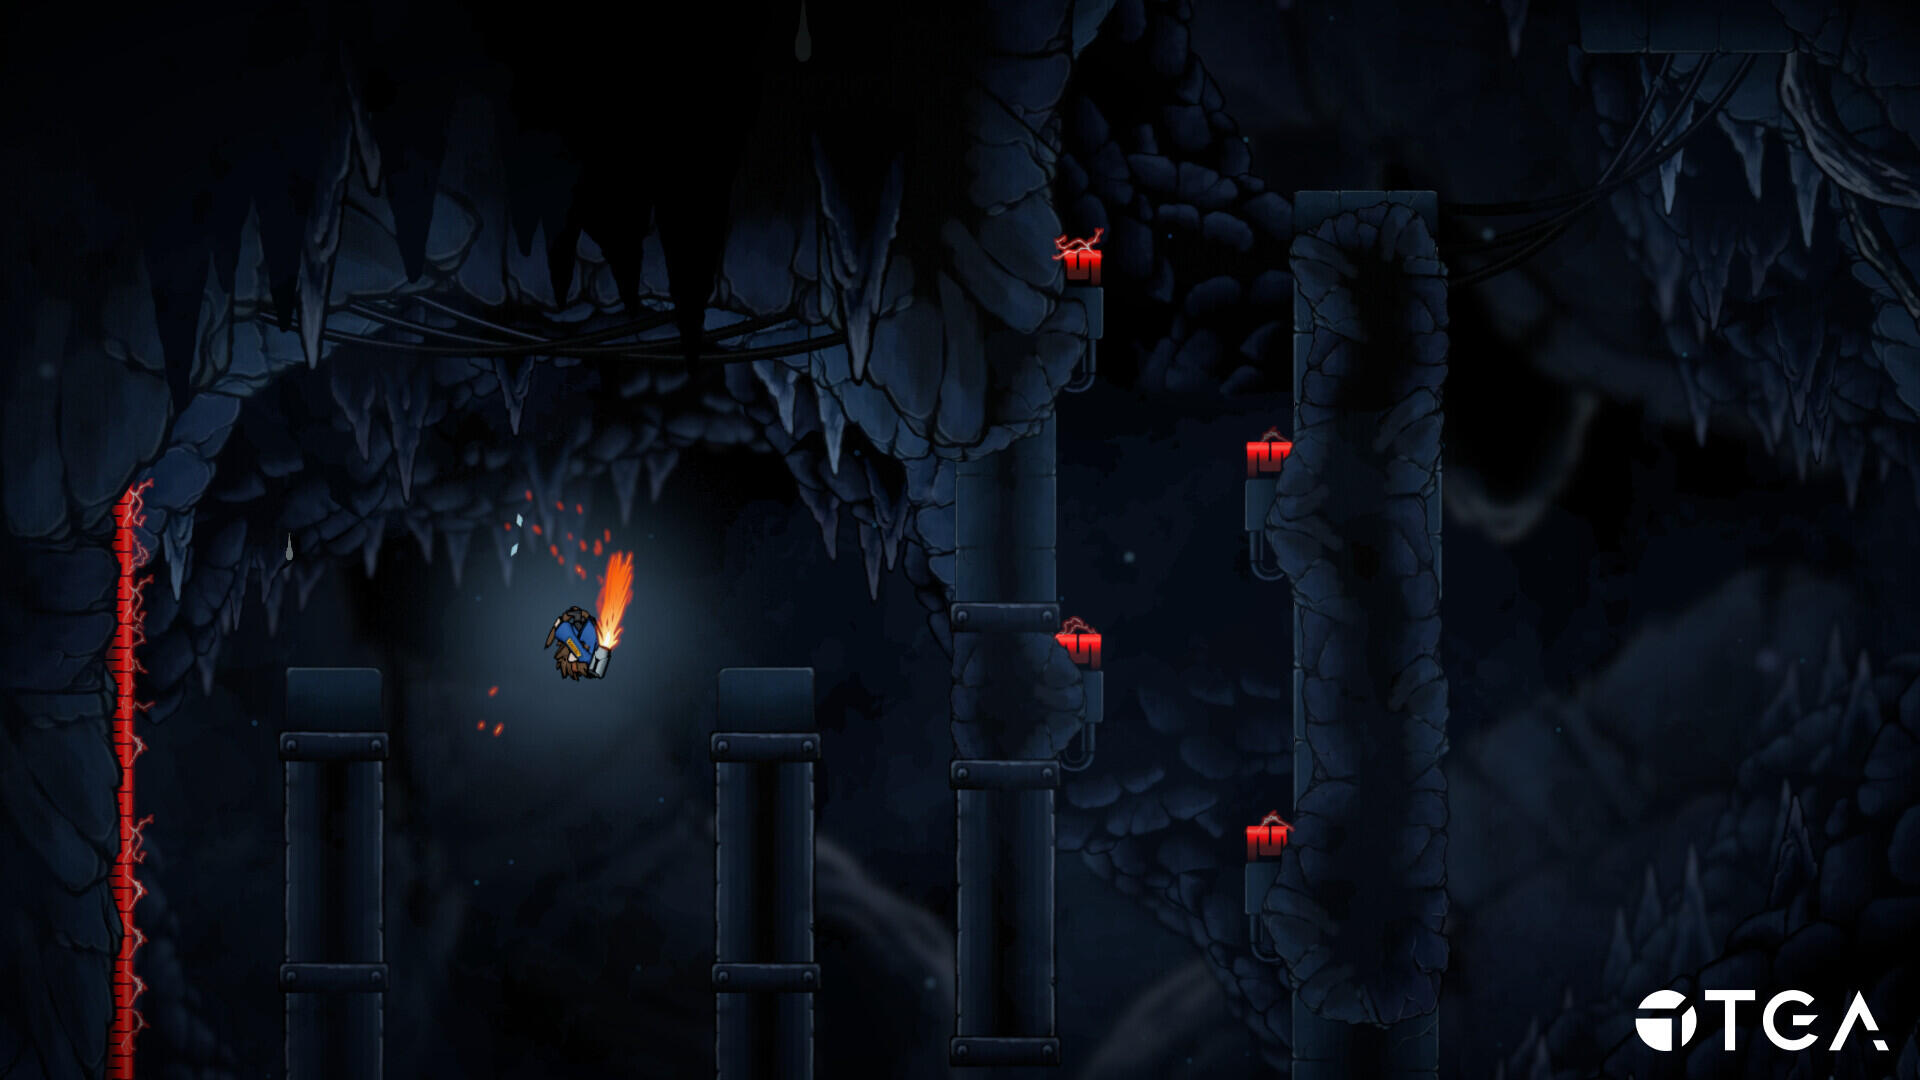
Springs
Springs were a movement mechanic which would bounce you in the direction that the spring was facing. Fun and difficult to implement due to a lot of collision problems and getting stuck in walls.

It's a bounce house of springs!
State handling for the player
The system we used was a state machine based on enums, which means we had to keep track of the state during every stage of the code. This was made so it seamlessly transitioned to the correct locomotion state.

States swapping and stamina shortage
Quality of life
There were a lot of quality of life added to the player, such as the following: Auto-mantling, ledge nuding, coyote time, jump buffers and a whole stamina system which makes your character blink red when it's low.

Ledge nudge in action so you don't bonk your head
reflections
Player MovementUnbound is a project that I will hold very close to my heart. It was the first time I could properly create player movement. Since Unbound is a full-on movement game, it was important to me that it was well-received and easy to use for all players. This could only be achieved by a substantial amount of playtesting and feedback.Springs
I had a lot of challenges and a lot of success when implementing new features for Unbound. The biggest challenge was the springs. When using a spring, you would launch yourself upwards, but if you accidentally touched an edge, you could sometimes clip into the walls and get stuck. This was solved by extra collision checks and a movement prediction to see where you would land the next frame.Quality of life
I also wanted to create a lot of quality of life features for the player, such as auto-mantling when you are climbing on a wall and get close to an edge. This had to be done carefully, as we had spikes in the game that would kill the player instantly upon touch. I had to do multiple checks to see if the area you climbed upon was safe or not. I also correctly transported the player directly on the ground upon death, so when you respawned, you respawned on the ground and not in the air.As our reference game for this project was Celeste, I wanted to implement a lot of their movement mechanics, but due to the scope of the project, some features were cut, and we had to focus on the core movement.
project showreel
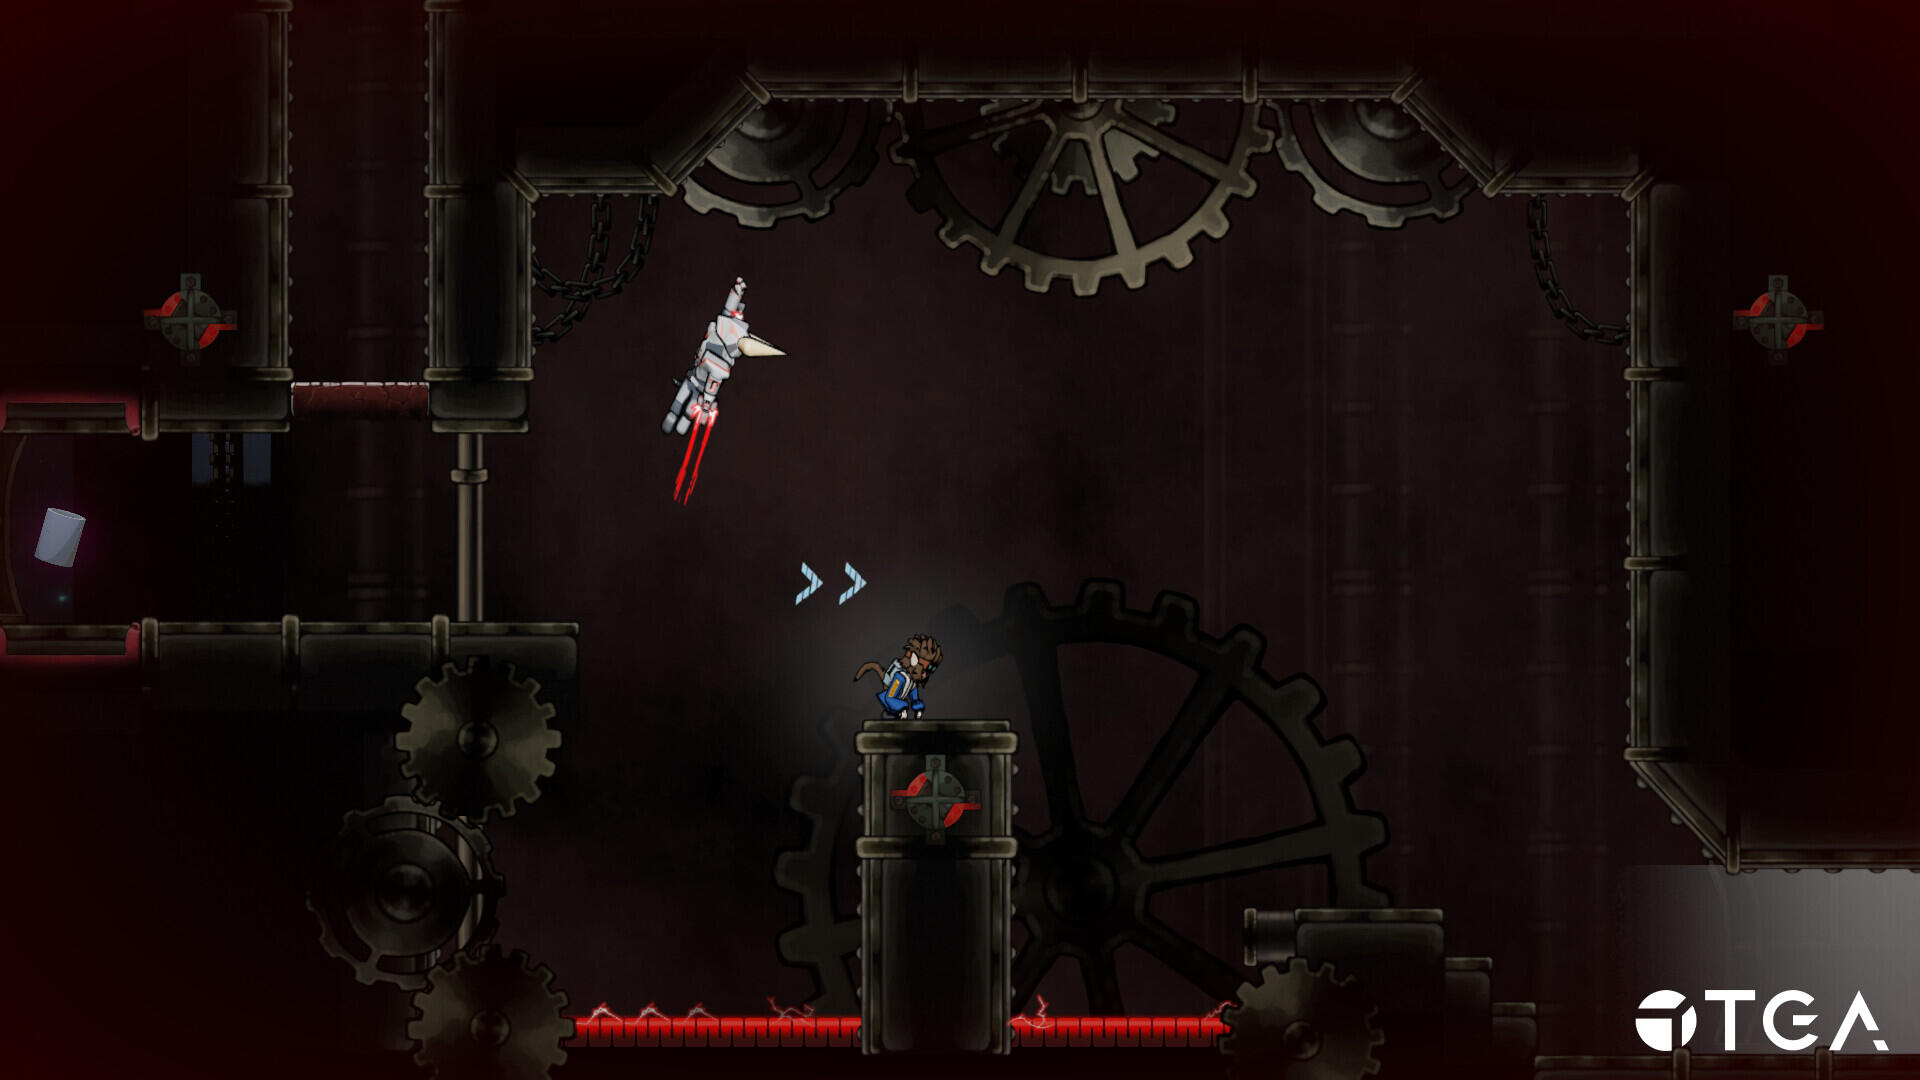
alien stole my sh%!
3D Precision Platformer

Production time:
• 14 weeks half time
Reference game:
• Spyro
Engine:
• Unreal Engine (editor)
• RNG (Custom built engine)
Team:
• 2 Animators
• 4 Graphical Artists
• 4 Level Designers
• 7 Programmers
• 4 Technical Artists
Made at The Game Assembly by:
my contributions
Crewmates
Crewmates kind of act like a collectible, as they need to be rescued by the player and then used to win the game. As soon as there was a collision, a sequence started, and I had to swap out a mesh to visually represent the bubble popping.
Crewmate saved & custom dialogues on every crewmate
Collectibles
I created the system that kept track of all the collectibles and their movement. As well as some quality of life effects, such as auto-pickup and visual feedback.
Collectibles spin and pickup
Player Jump
One thing I really wanted to work on was the player jump. I believe a satisfying jump will change the experience of the game. This jump was done by adding minimal jump, a variable jump, and a max height jump, which the player can control.
Variable jump height with a maximum and minimal jump
Deathzones, level transition and checkpoints
Deathzones and checkpoints work hand in hand. If the player falls off the map, takes damage, and then checks the nearest checkpoint, teleport them there. We do this by taking the transform of the checkpoint and then moving the player there with the correct rotation and position.
Deathzones and checkpoint system with the portal for level transition
spite - blood and gold
Top-Down Action Role-Playing Game
Production time:
• 14 weeks half time
Reference game:
• Diablo 3
Engine:
• Unreal Engine (editor)
• RNG (Custom built engine)
Team:
• 2 Animators
• 4 Graphical Artists
• 4 Level Designers
• 7 Programmers
• 4 Technical Artists
Made at The Game Assembly by:

my contributions
Camera shake
I implemented a camera shake to enhance the feel of the bigger attacks. This was done by sampling Perlin noise and applying it to the camera.
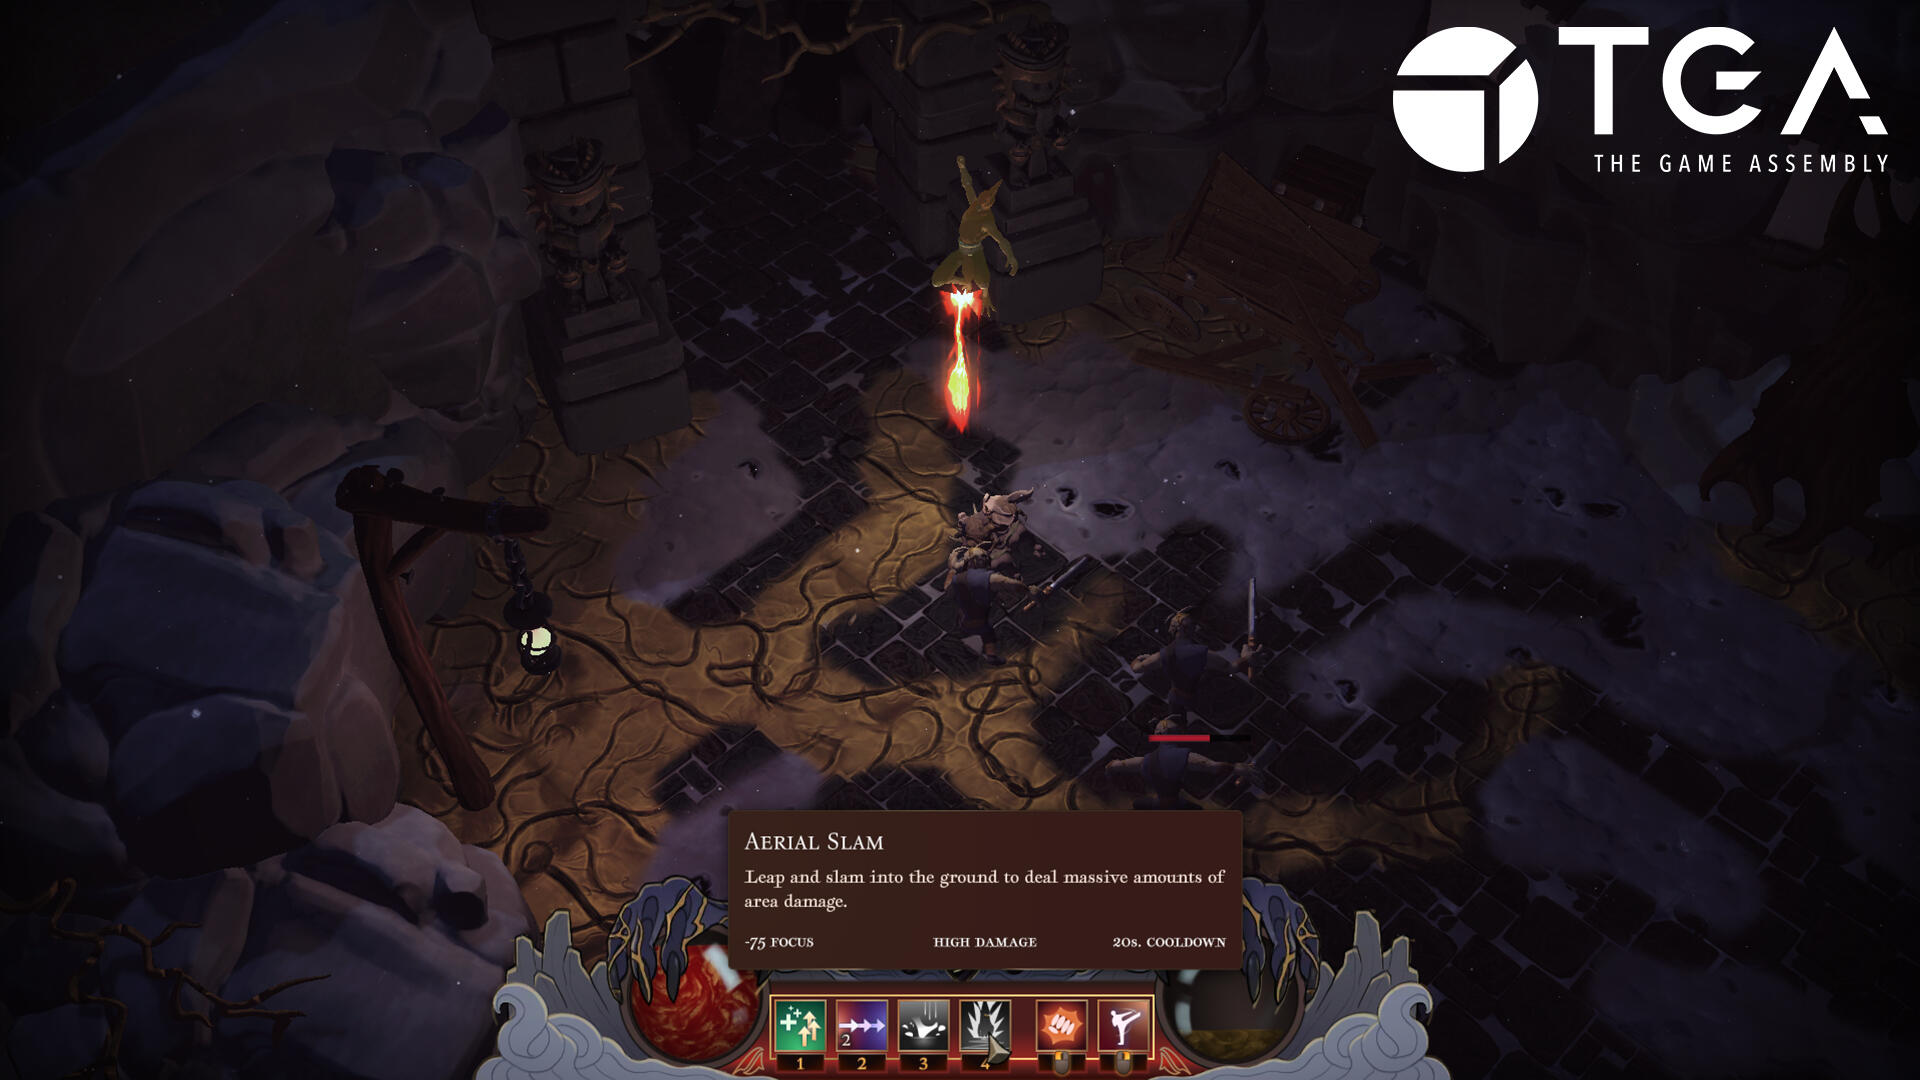
Player Abilities
I worked on all of the player abilities during the course of the project, but created the Buff and Heavy slam ability from scratch
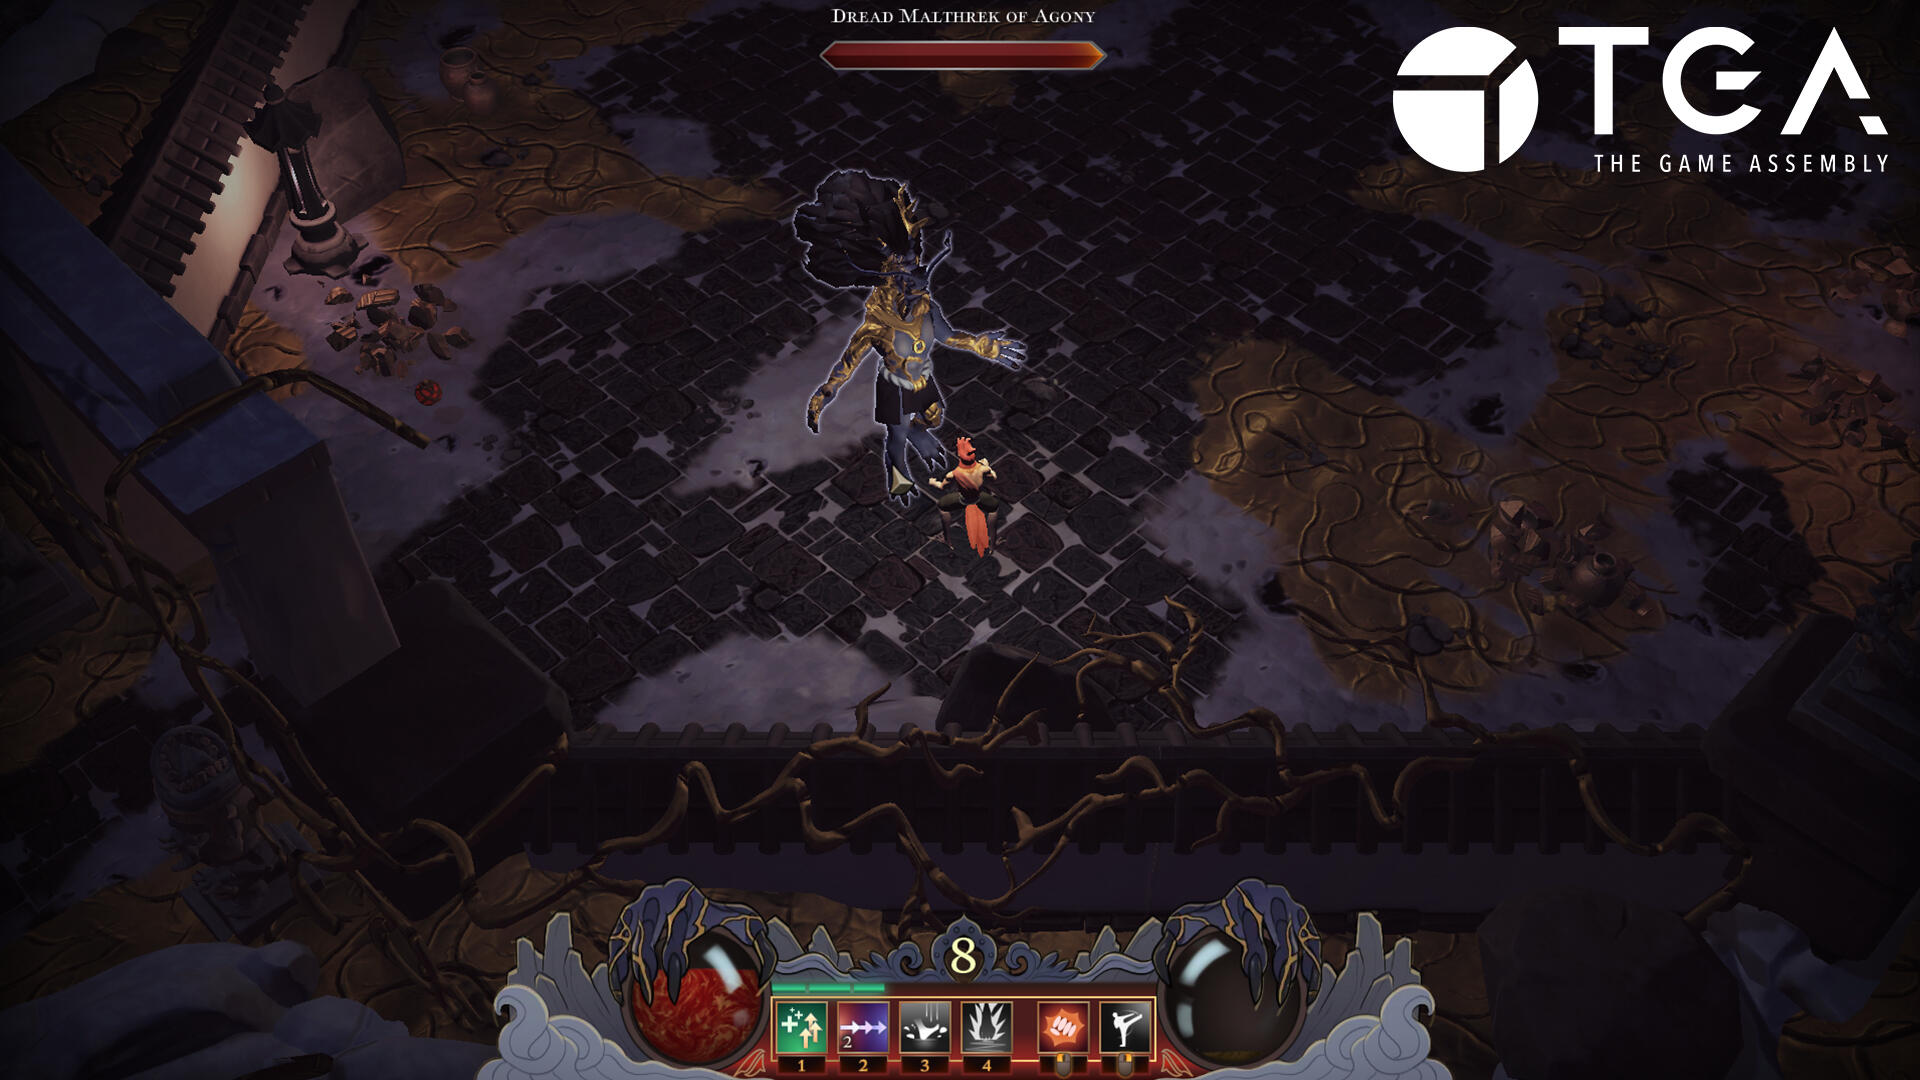
Knockback system
As there were powerful abilities, we needed a system to portay the power, and we did this with knockbacks. This was done by applying a velocity to a vector away from the collision area.
Biggest enemy applying knockback on player
Stat system / Buff system
Every character needed stats which included: Speed, health and damage. These metrics were applied using JSONs and a modular system that allows player and enemies to receive buffs during run-time
Using a Buff Clock Actor that randomly applies enchanced player stats
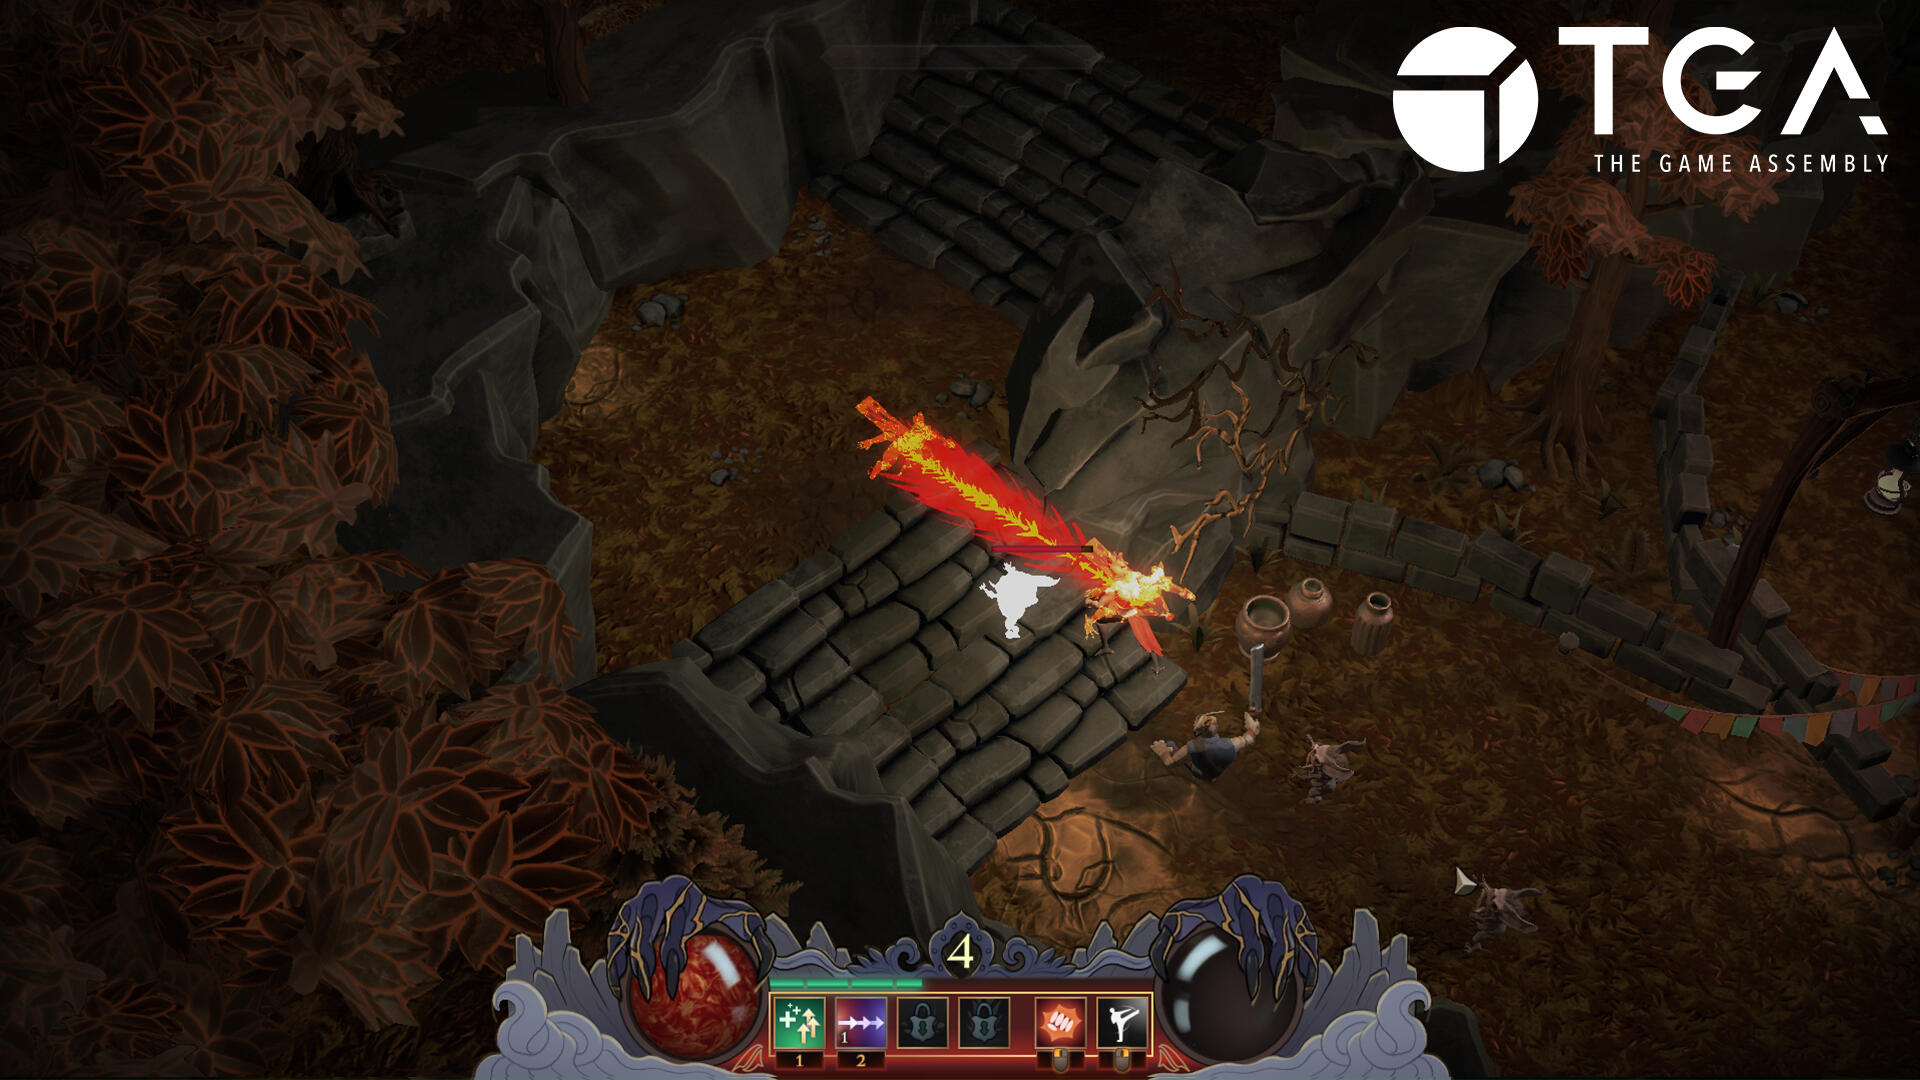
Ability unlock
The abilities got unlocked by punching a big bell, which in turn would unlock an ability depending on which level you were at.
Unlocking the first ability by punching the bell
Quality of life
To create a good feel for the player, enabling them to punch in the air whenever they wanted, as well as being able to hit every bell and pot that they could ever want to destroy.
Punching all the ceramics you could ever want to destroy!
reflections
Spite was the first group project in our own hand-crafted engine and was definitely a joy to work on. The first four weeks of the project were dedicated to building and improving our engine, preparing every pipeline so that we could get a head start when production finally began.Once production started, I wanted to work on player abilities as soon as possible, as they are the core mechanics of any Diablo-like game. Getting a smooth feel for the controller is the most important part. I also wanted to create bigger systems as I had not endured that challenge yet. I implemented a camera shake system, stat system, and our buff system, which worked well with our existing stat system. Since we made our own engine, I was very interested in lighting and shadows, so I took on that responsibility too.This was a valuable project for learning how to work on a custom-made engine and creating everything from scratch. We also introduced Technical Artists to our group and started working with them. This project gave me a lot of insight into their work process and introduced a new workflow between programmers and technical artists.
project showreel